来源: 如何让大模型安全地自动生成代码并执行? – mingupupup – 博客园
前言
本文带来的分享是在crewai中使用代码解释器,为了安全,代码在docker中运行。
为什么要使用代码解释器呢?
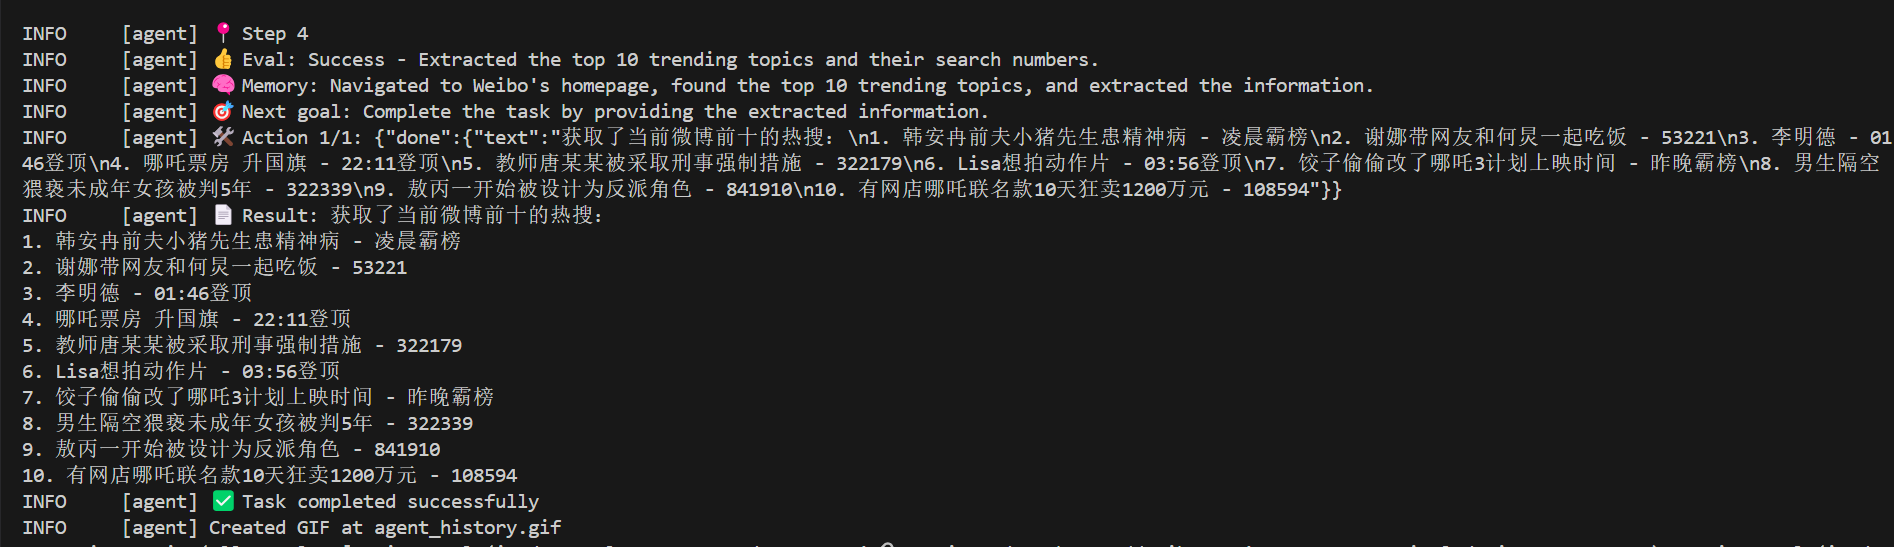
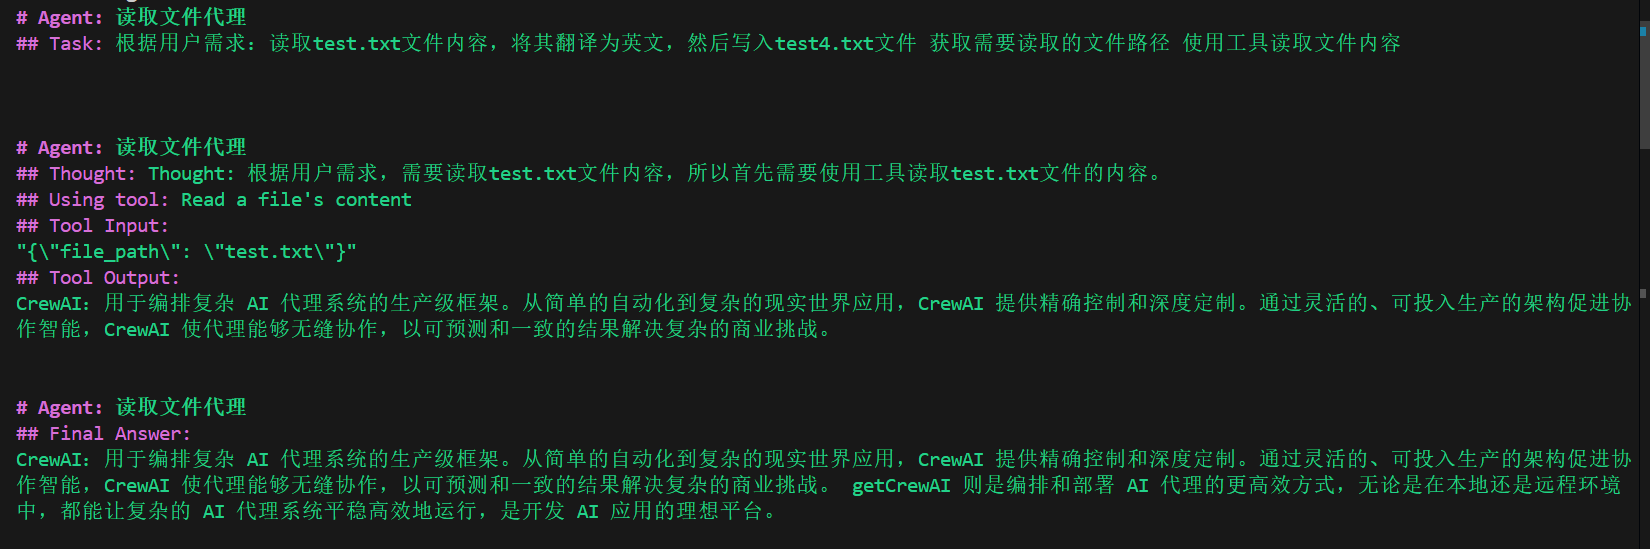
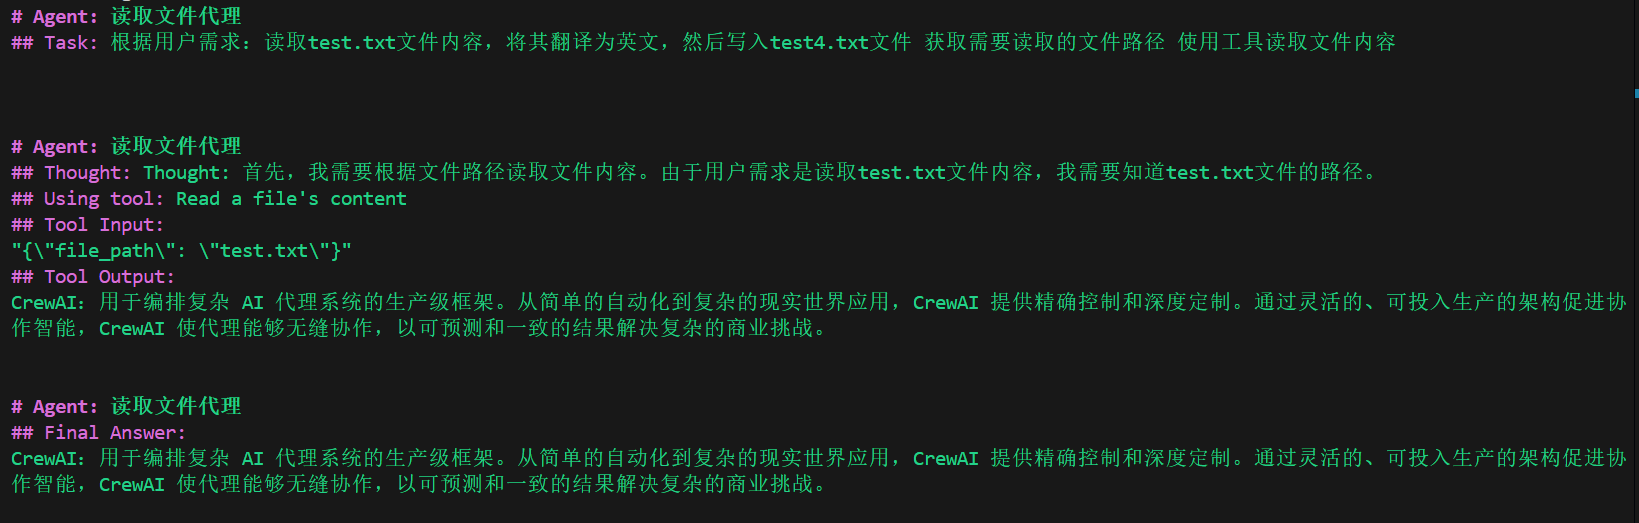
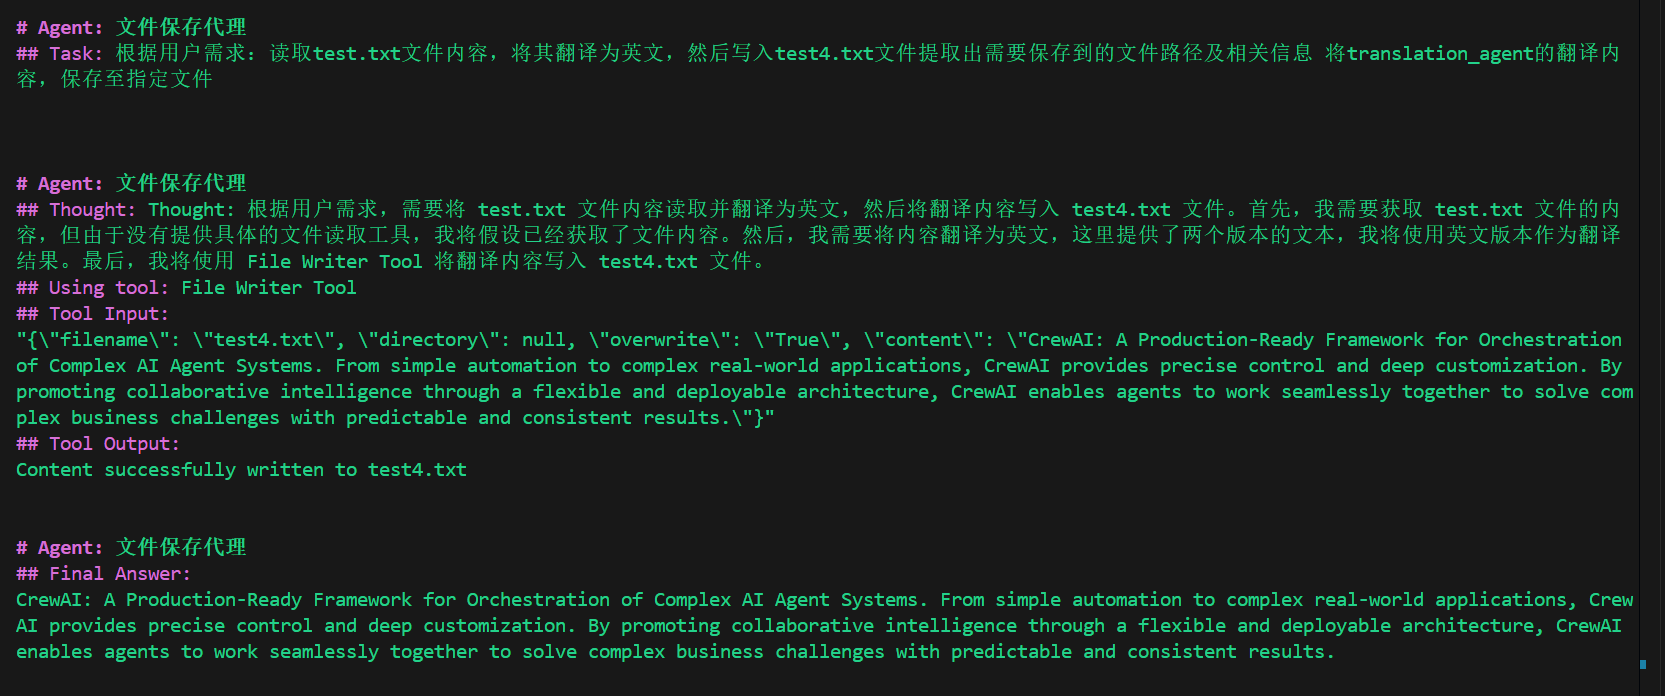
之前的文章中使用的是function call + 各种工具 来完成一个任务,比如文件读取工具、文件保存工具等。
但是用户的需求是多变的,你很难提前写好所有的工具。
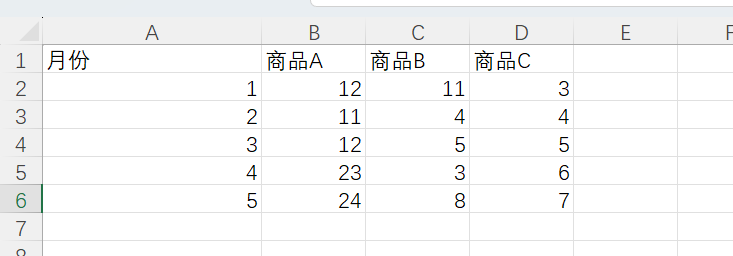
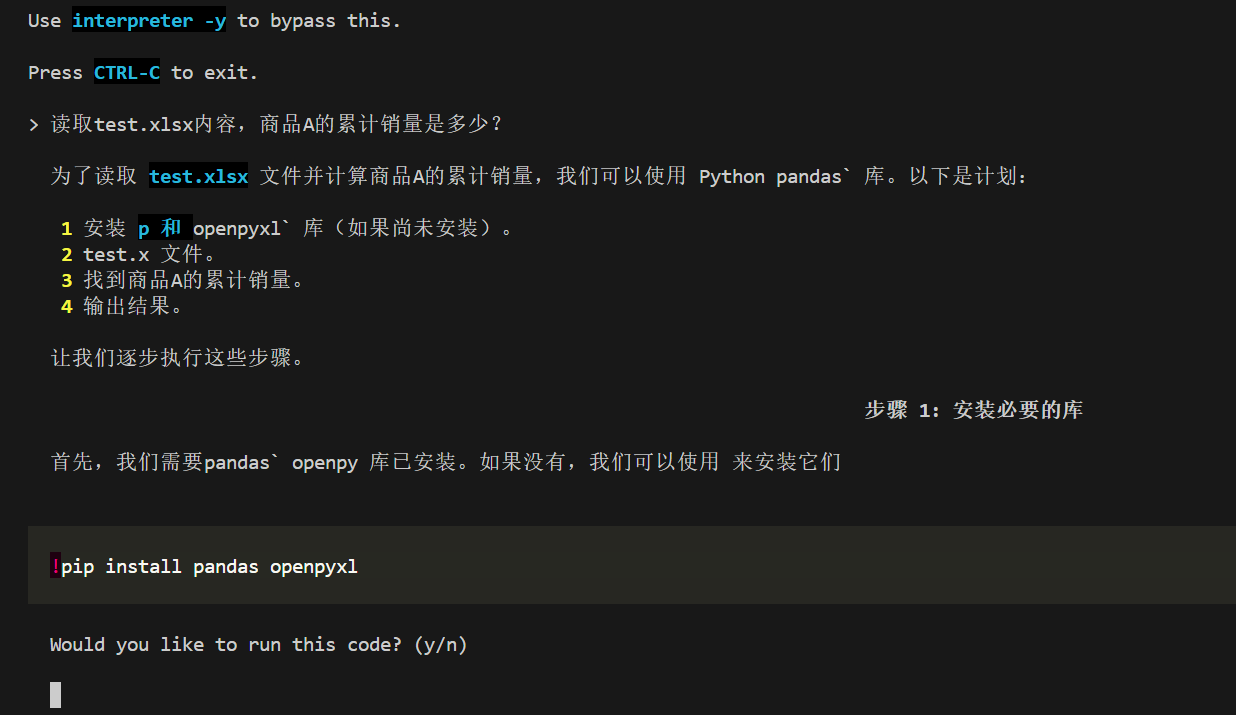
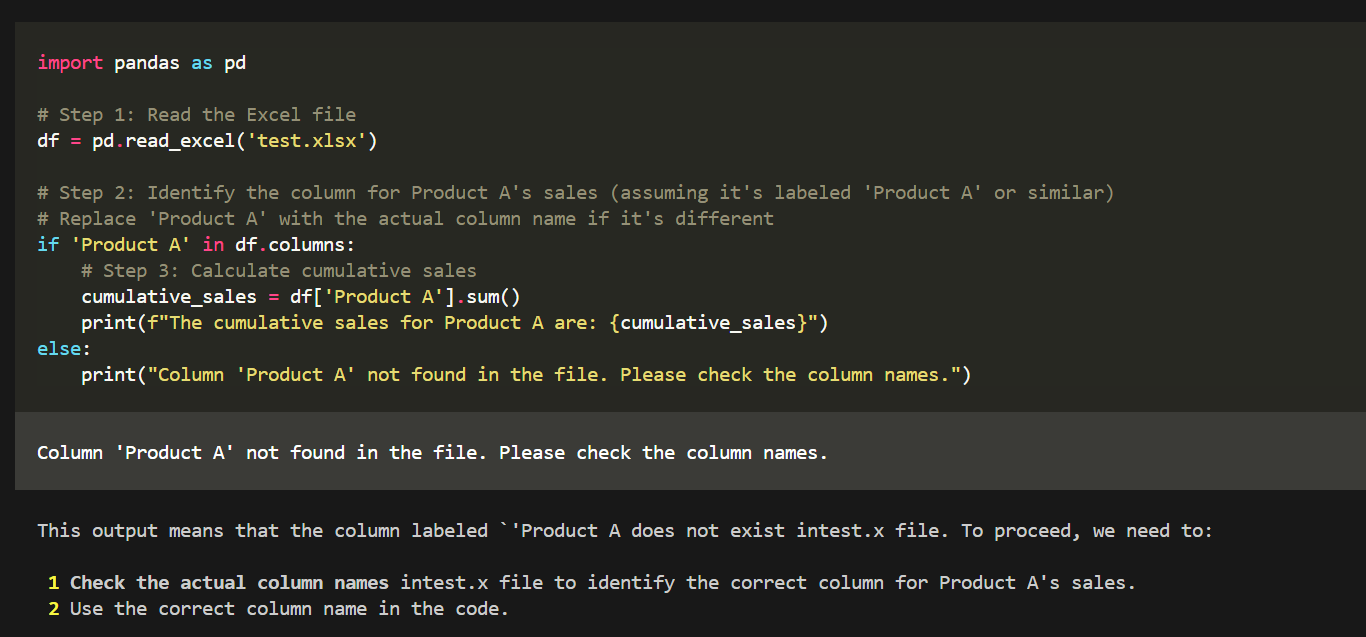
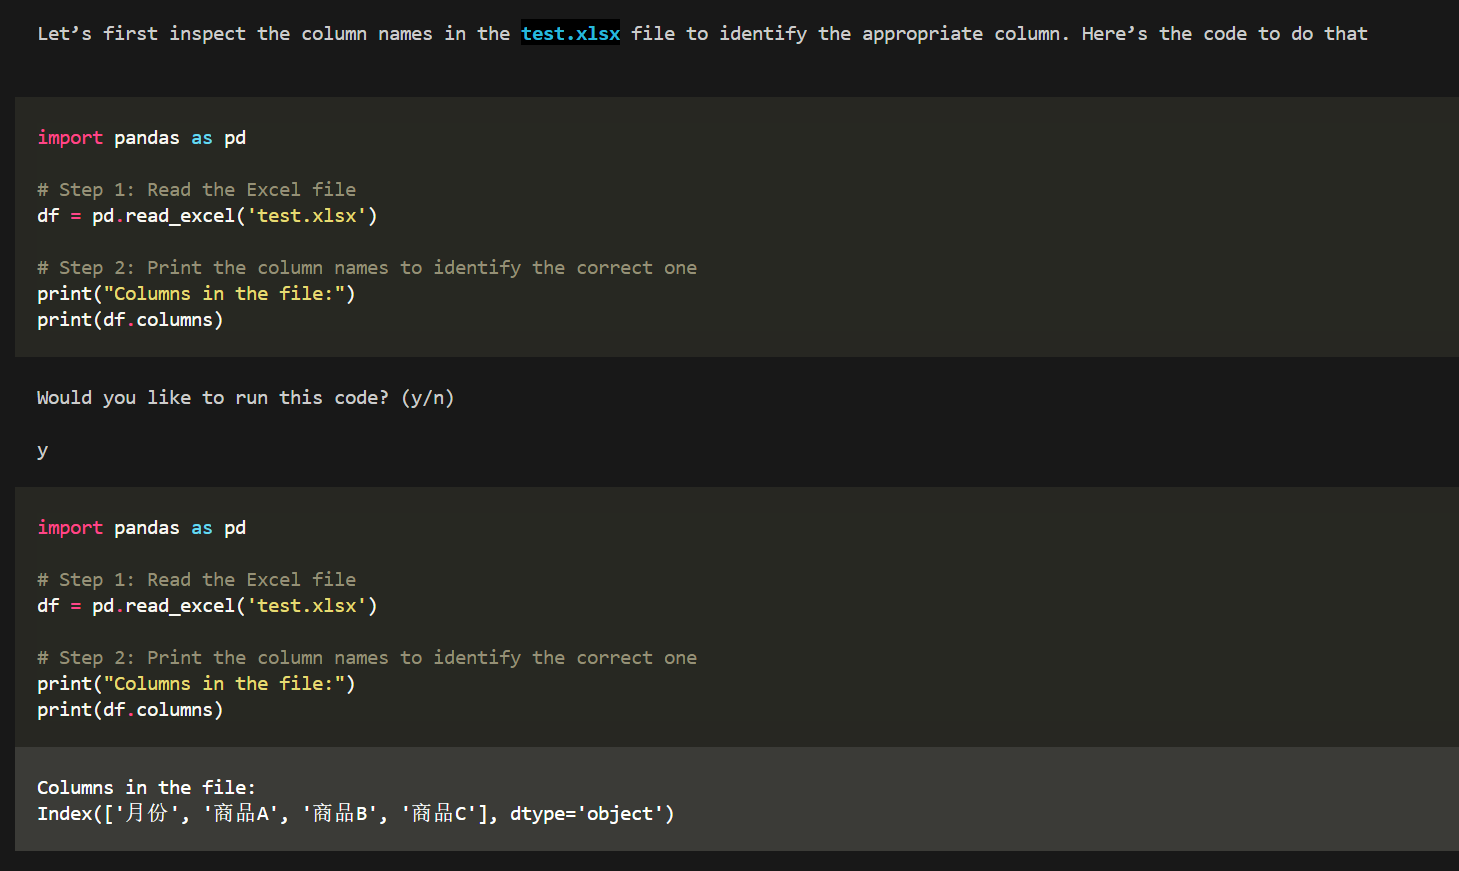
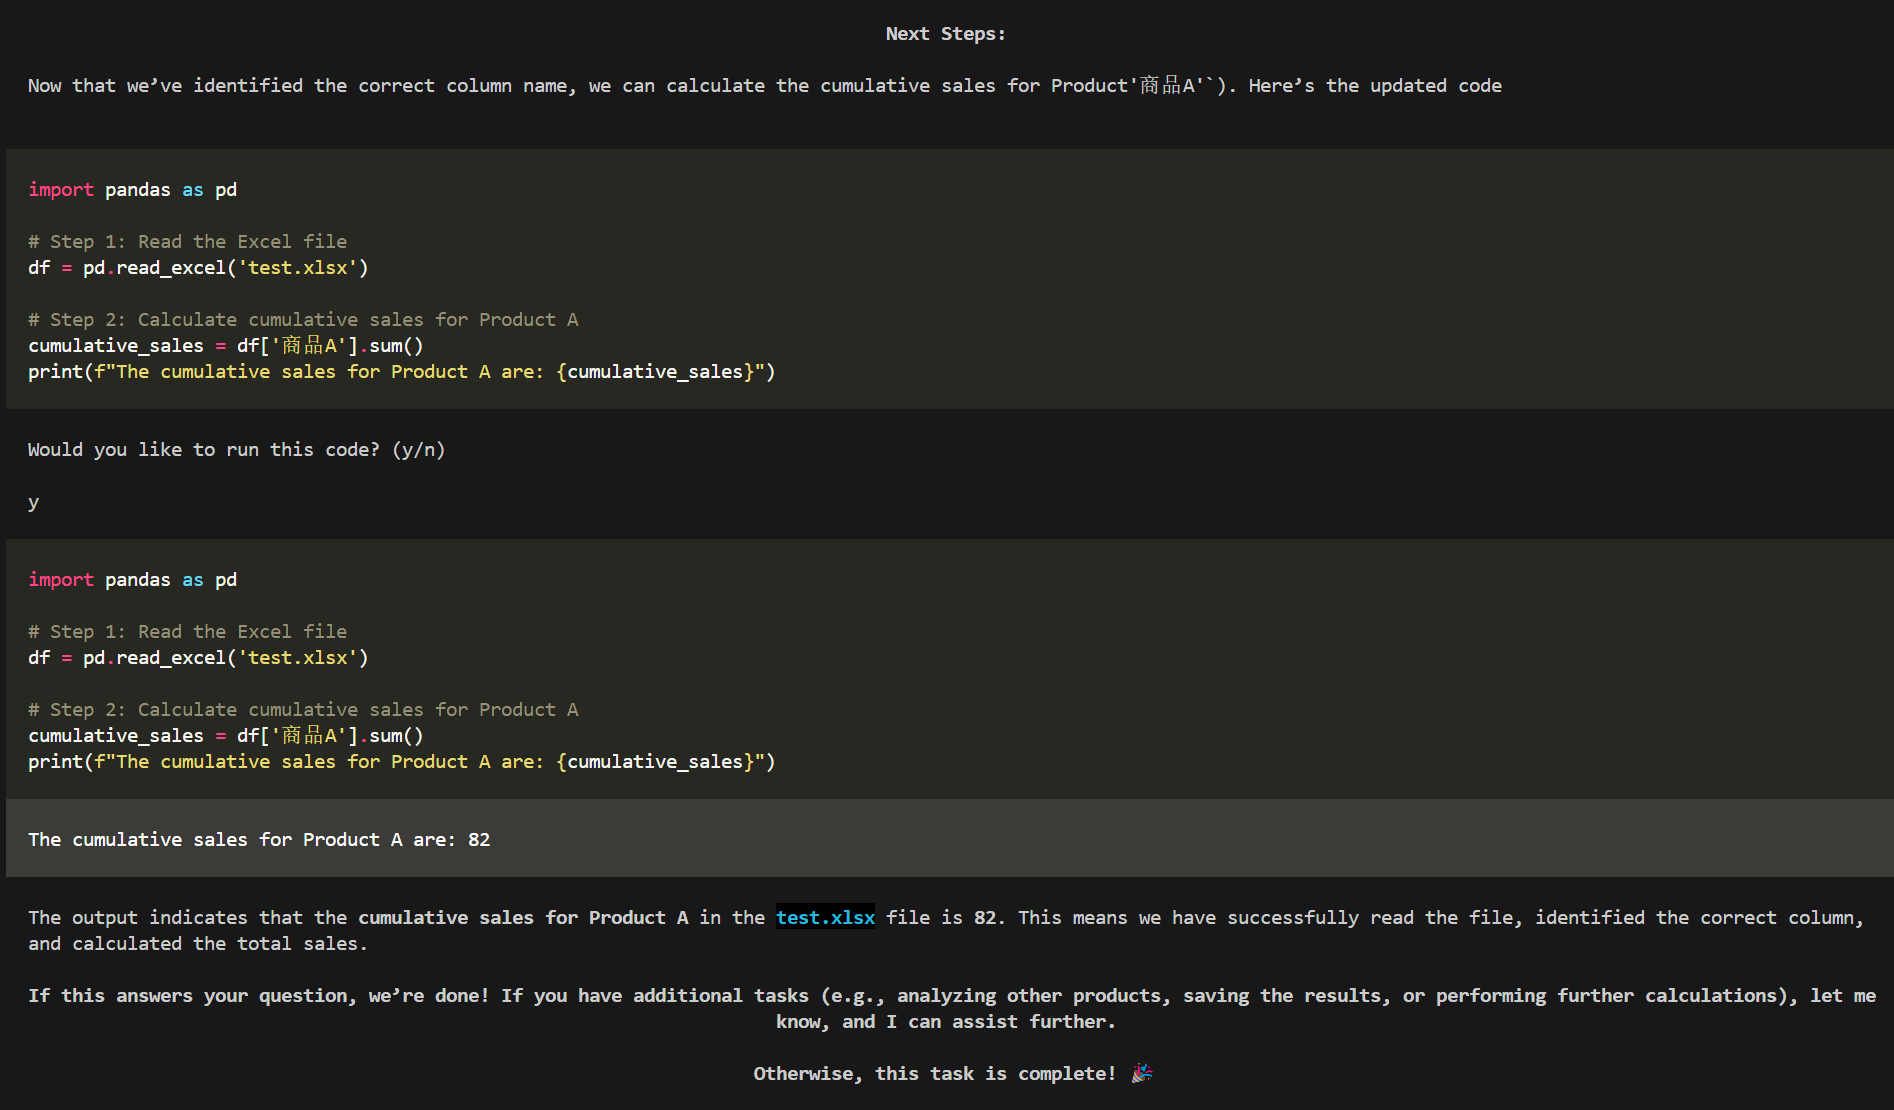
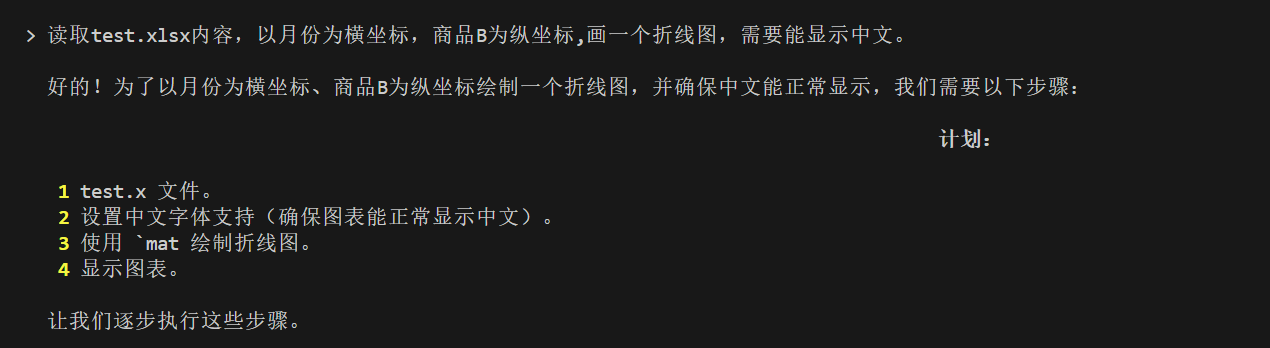
读取文件内容,使用代码解释器的效果如下所示:

实践
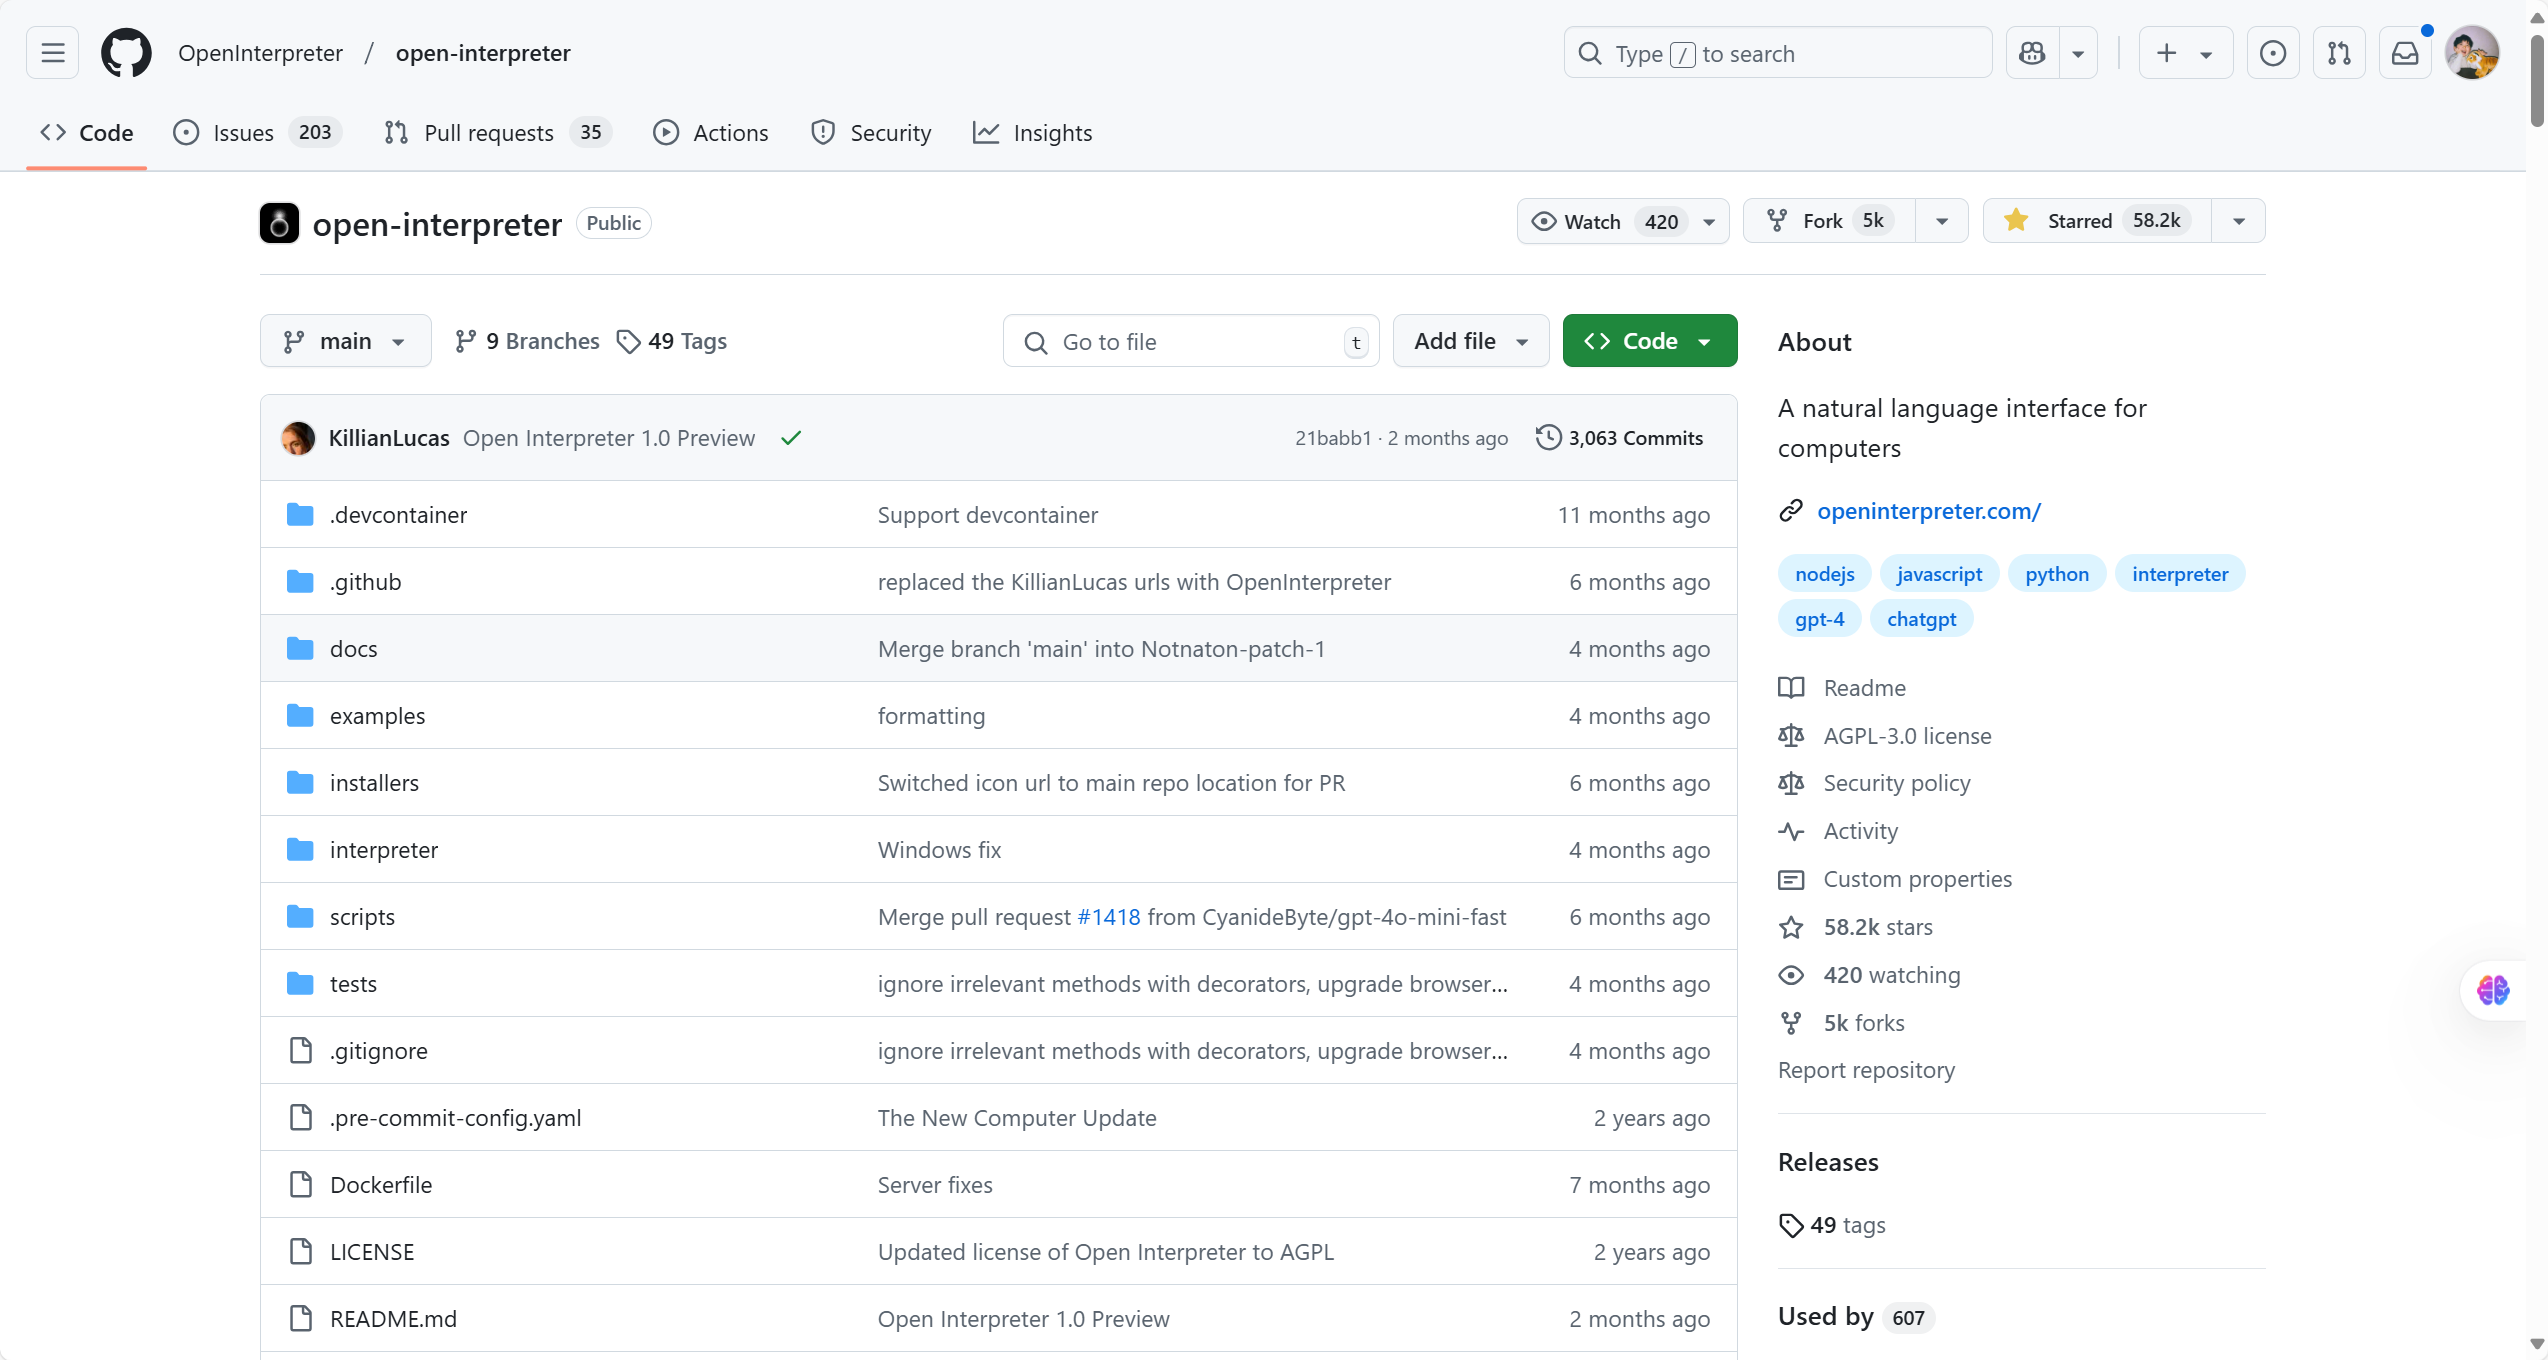
首先需要看下crewai中提供的代码解释器工具代码,学习一下。
代码在:https://github.com/crewAIInc/crewAI-tools/tree/main/crewai_tools/tools/code_interpreter_tool
文件如下:

先来看一下Dockerfile:
FROM python:3.12-alpine
RUN pip install requests beautifulsoup4
WORKDIR /workspace
这是一个Dockerfile的片段,用于构建一个Python环境的Docker镜像。解释如下:
FROM python:3.12-alpine:这行指定了基础镜像为Python 3.12版本的Alpine Linux镜像。Alpine Linux是一种轻量级的Linux发行版,非常适合作为Docker镜像的基础。
RUN pip install requests beautifulsoup4:这行使用pip安装两个Python包:requests和beautifulsoup4。requests是一个用于发送HTTP请求的库,而beautifulsoup4是一个用于解析HTML和XML文档的库。
WORKDIR /workspace:这行设置了容器中的工作目录为/workspace。当容器启动时,会自动进入这个目录。
总的来说,这个Dockerfile构建了一个Python环境,安装了两个常用的库,并将工作目录设置为/workspace。这个镜像可以用于运行Python应用程序,尤其是那些需要解析HTML和发送HTTP请求的应用程序。
再来看一下code_interpreter_tool.py的代码:
import importlib.util
import os
from typing import List, Optional, Type
from crewai.tools import BaseTool
from docker import from_env as docker_from_env
from docker import DockerClient
from docker.models.containers import Container
from docker.errors import ImageNotFound, NotFound
from docker.models.containers import Container
from pydantic import BaseModel, Field
class CodeInterpreterSchema(BaseModel):
"""
Input for CodeInterpreterTool.
供代码解释工具输入。
"""
code: str = Field(
...,
description="Python3 code used to be interpreted in the Docker container. ALWAYS PRINT the final result and the output of the code",
)
libraries_used: Optional[List[str]] = Field(
None,
description="List of libraries used in the code with proper installing names separated by commas. Example: numpy,pandas,beautifulsoup4",
)
class CodeInterpreterTool(BaseTool):
name: str = "Code Interpreter"
description: str = "Interprets Python3 code strings with a final print statement."
args_schema: Type[BaseModel] = CodeInterpreterSchema
default_image_tag: str = "code-interpreter:latest"
code: Optional[str] = None
user_dockerfile_path: Optional[str] = None
user_docker_base_url: Optional[str] = None
unsafe_mode: bool = False
@staticmethod
def _get_installed_package_path():
spec = importlib.util.find_spec("crewai_tools")
return os.path.dirname(spec.origin)
def _verify_docker_image(self) -> None:
"""
Verify if the Docker image is available. Optionally use a user-provided Dockerfile.
验证Docker镜像是否可用。可选地使用用户提供的Dockerfile。
"""
client = (
docker_from_env()
if self.user_docker_base_url == None
else DockerClient(base_url=self.user_docker_base_url)
)
try:
client.images.get(self.default_image_tag)
except ImageNotFound:
if self.user_dockerfile_path and os.path.exists(self.user_dockerfile_path):
dockerfile_path = self.user_dockerfile_path
else:
package_path = self._get_installed_package_path()
dockerfile_path = os.path.join(
package_path, "tools/code_interpreter_tool"
)
if not os.path.exists(dockerfile_path):
raise FileNotFoundError(
f"Dockerfile not found in {dockerfile_path}"
)
client.images.build(
path=dockerfile_path,
tag=self.default_image_tag,
rm=True,
)
def _run(self, **kwargs) -> str:
code = kwargs.get("code", self.code)
libraries_used = kwargs.get("libraries_used", [])
if self.unsafe_mode:
return self.run_code_unsafe(code, libraries_used)
else:
return self.run_code_in_docker(code, libraries_used)
def _install_libraries(self, container: Container, libraries: List[str]) -> None:
"""
Install missing libraries in the Docker container
"""
for library in libraries:
container.exec_run(["pip", "install", library])
def _init_docker_container(self) -> Container:
container_name = "code-interpreter"
client = docker_from_env()
current_path = os.getcwd()
try:
existing_container = client.containers.get(container_name)
existing_container.stop()
existing_container.remove()
except NotFound:
pass
return client.containers.run(
self.default_image_tag,
detach=True,
tty=True,
working_dir="/workspace",
name=container_name,
volumes={current_path: {"bind": "/workspace", "mode": "rw"}},
)
def run_code_in_docker(self, code: str, libraries_used: List[str]) -> str:
self._verify_docker_image()
container = self._init_docker_container()
self._install_libraries(container, libraries_used)
exec_result = container.exec_run(["python3", "-c", code])
container.stop()
container.remove()
if exec_result.exit_code != 0:
return f"Something went wrong while running the code: \n{exec_result.output.decode('utf-8')}"
return exec_result.output.decode("utf-8")
def run_code_unsafe(self, code: str, libraries_used: List[str]) -> str:
"""
Run the code directly on the host machine (unsafe mode).
"""
for library in libraries_used:
os.system(f"pip install {library}")
try:
exec_locals = {}
exec(code, {}, exec_locals)
return exec_locals.get("result", "No result variable found.")
except Exception as e:
return f"An error occurred: {str(e)}"
主要的参数与描述如下:
code: str = Field(
...,
description="Python3 code used to be interpreted in the Docker container. ALWAYS PRINT the final result and the output of the code",
)
libraries_used: Optional[List[str]] = Field(
None,
description="List of libraries used in the code with proper installing names separated by commas. Example: numpy,pandas,beautifulsoup4",
)
测试这个工具的代码:
from crewai import LLM, Agent, Crew, Process, Task
from code_interpreter_tool import CodeInterpreterTool
import os
from dotenv import load_dotenv
load_dotenv()
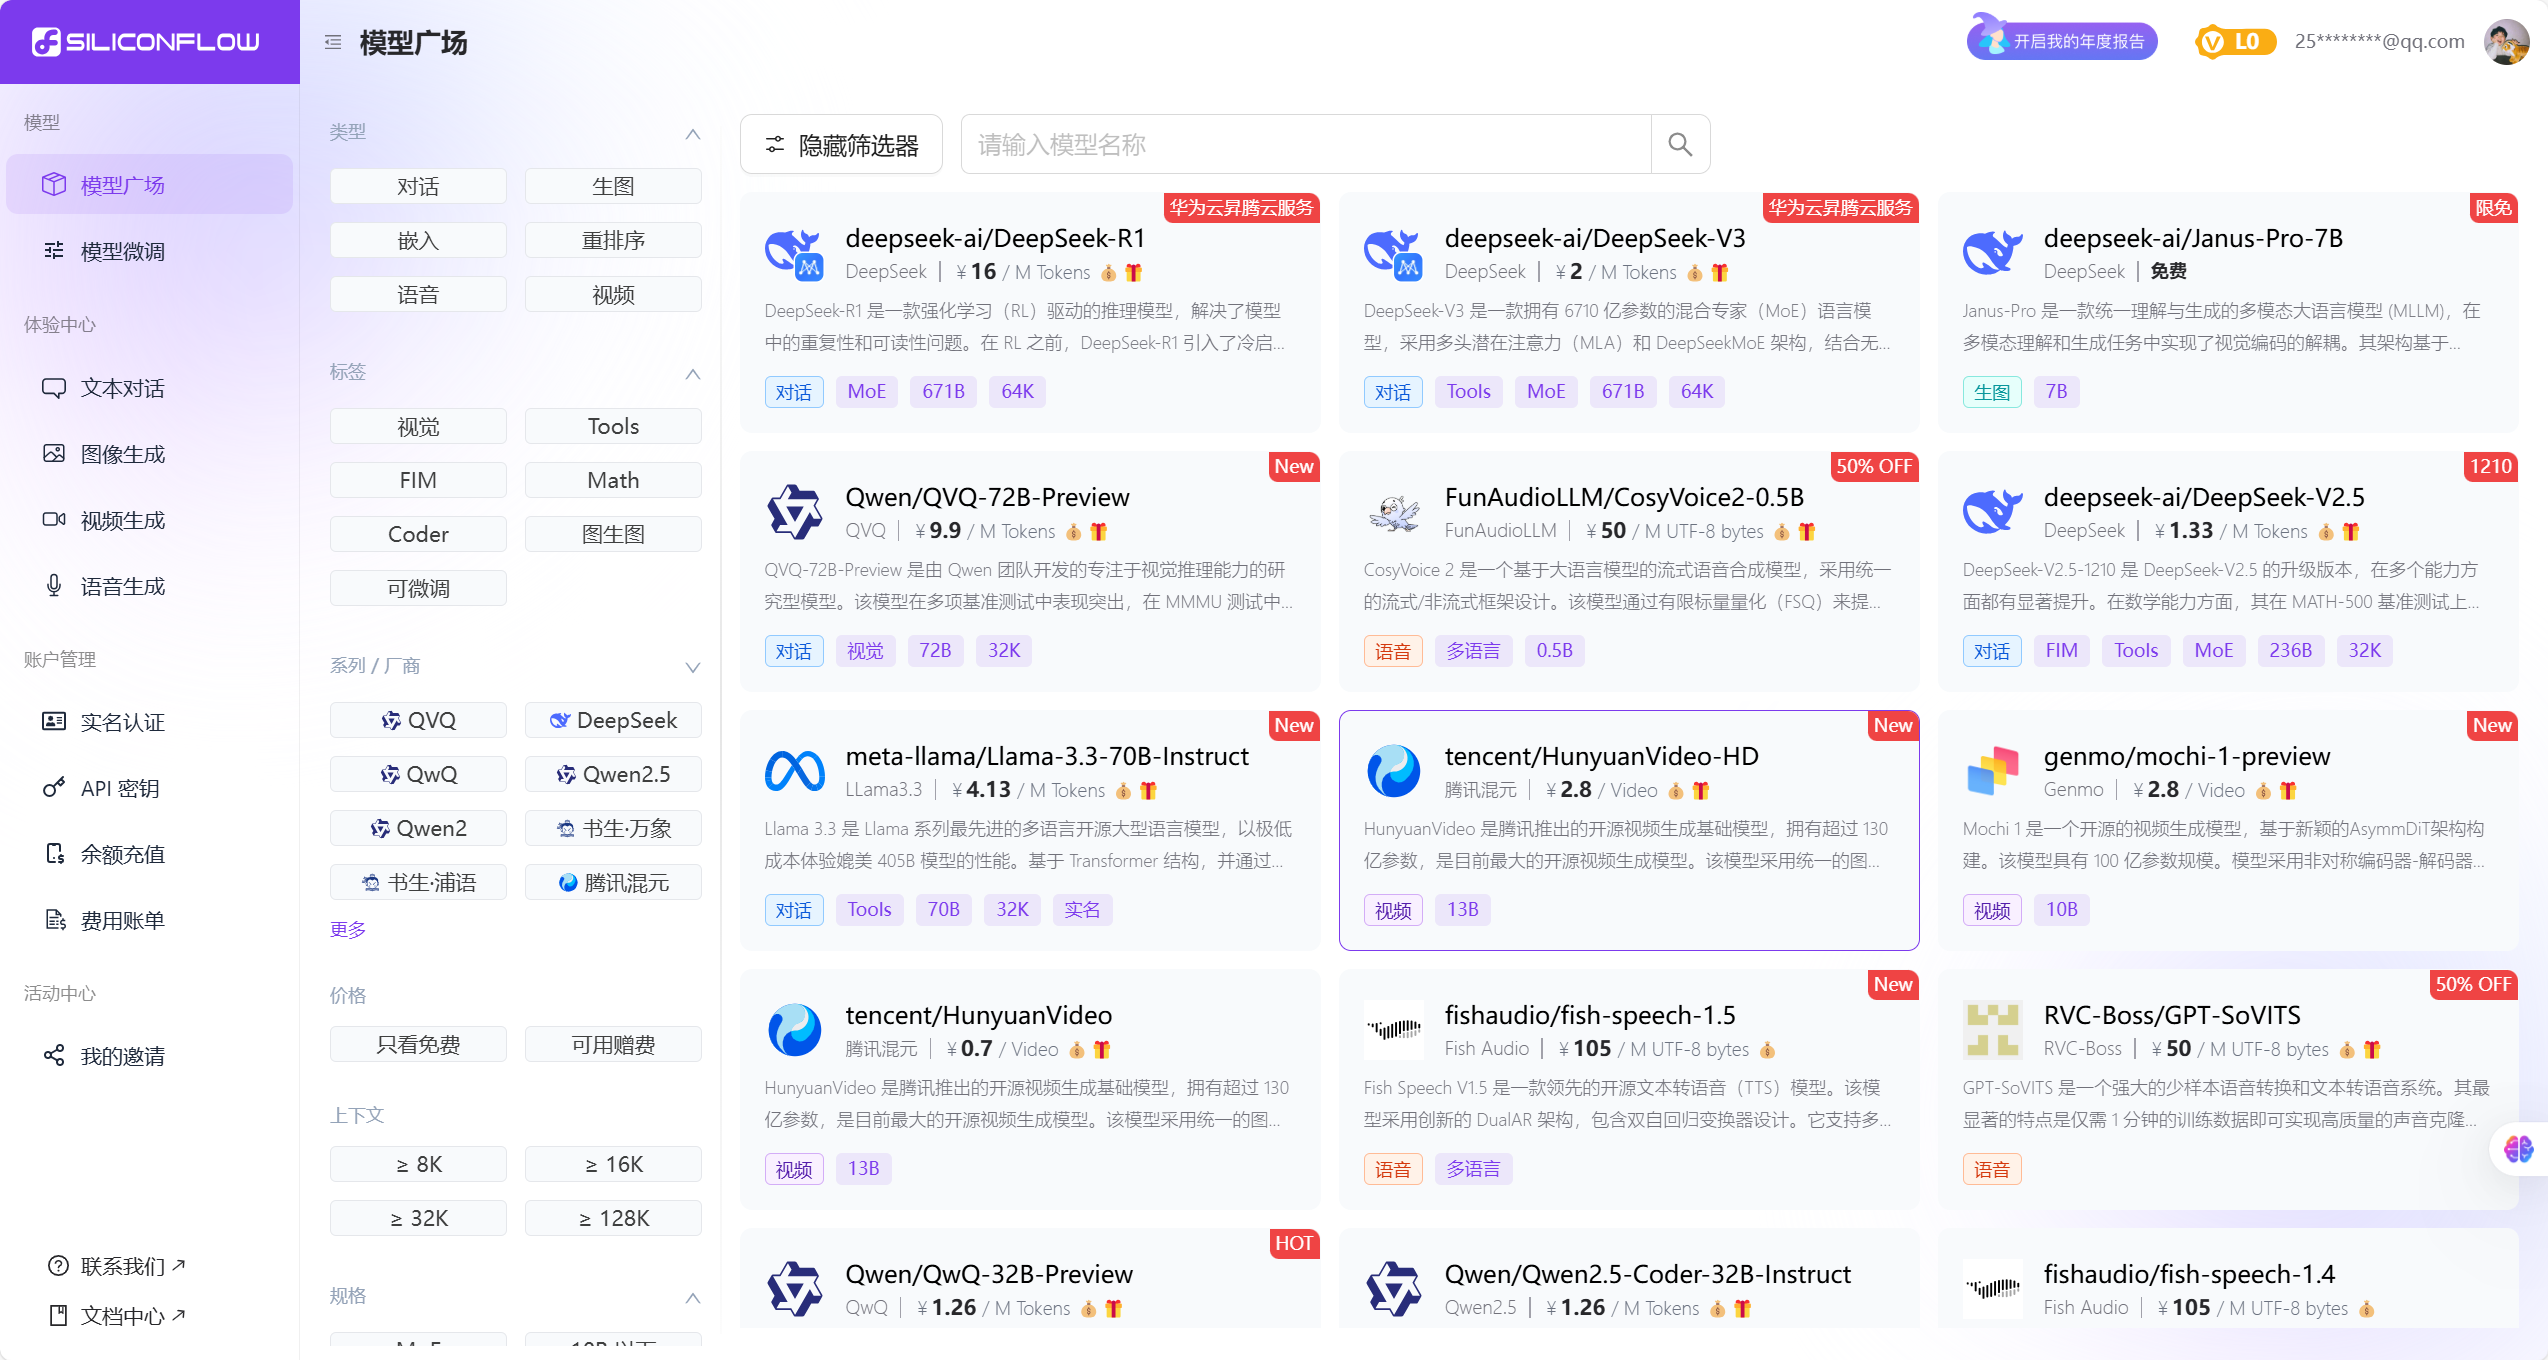
api_key = os.getenv('SiliconCloud_API_KEY')
base_url = os.getenv('SiliconCloud_API_BASE')
model = os.getenv('SiliconCloud_MODEL_NAME', 'openai/Qwen/Qwen2.5-72B-Instruct')
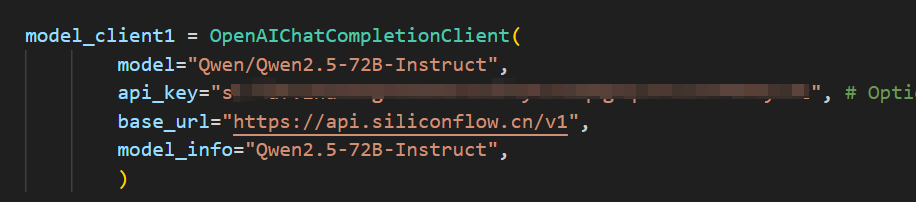
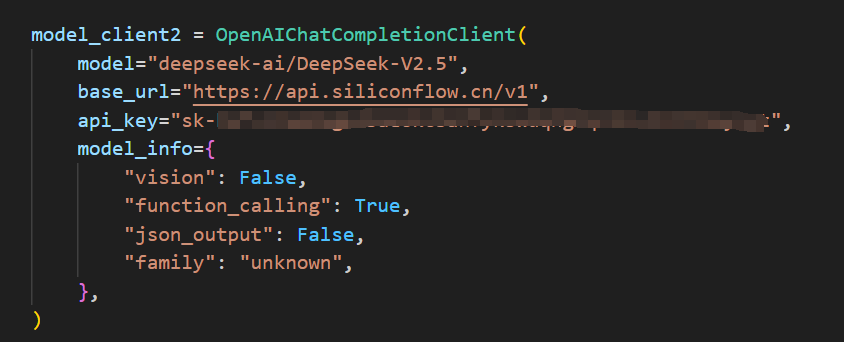
agent_llm = LLM(
model=model,
base_url=base_url,
api_key=api_key
)
agent = Agent(
role="Tool User",
goal="You know how to use the tool.",
backstory="""
You are a master at using the tool.
使用代码执行工具时,如果没有使用库,则libraries_used参数为空列表,需要写成libraries_used=[]。
""",
verbose=True,
allow_delegation=False,
llm=agent_llm,
tools=[CodeInterpreterTool()],
)
task = Task(
description="""
根据用户需求:{question}
使用相应的工具。
""",
expected_output="获取本次工具输出的结果,无需其它内容。",
agent=agent,
)
crew = Crew(
agents=[agent],
tasks=[task],
verbose=True,
process=Process.sequential,
)
result = crew.kickoff(
inputs={
"question": "获取test2.txt的内容"
}
)
在这个地方可以输入你的需求看看代码解释器能不能实现。
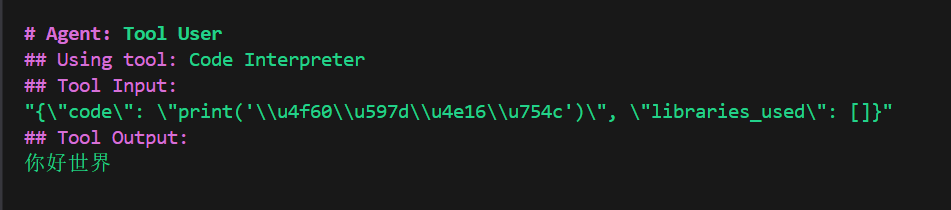
先来一个最简单的:
result = crew.kickoff(
    inputs={
        "question": "输出你好世界"
    }
)
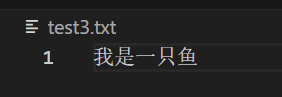
再来一个创建文件的:
result = crew.kickoff(
    inputs={
        "question": "创建test3.txt,里面写入我是一只鱼。"
    }
)

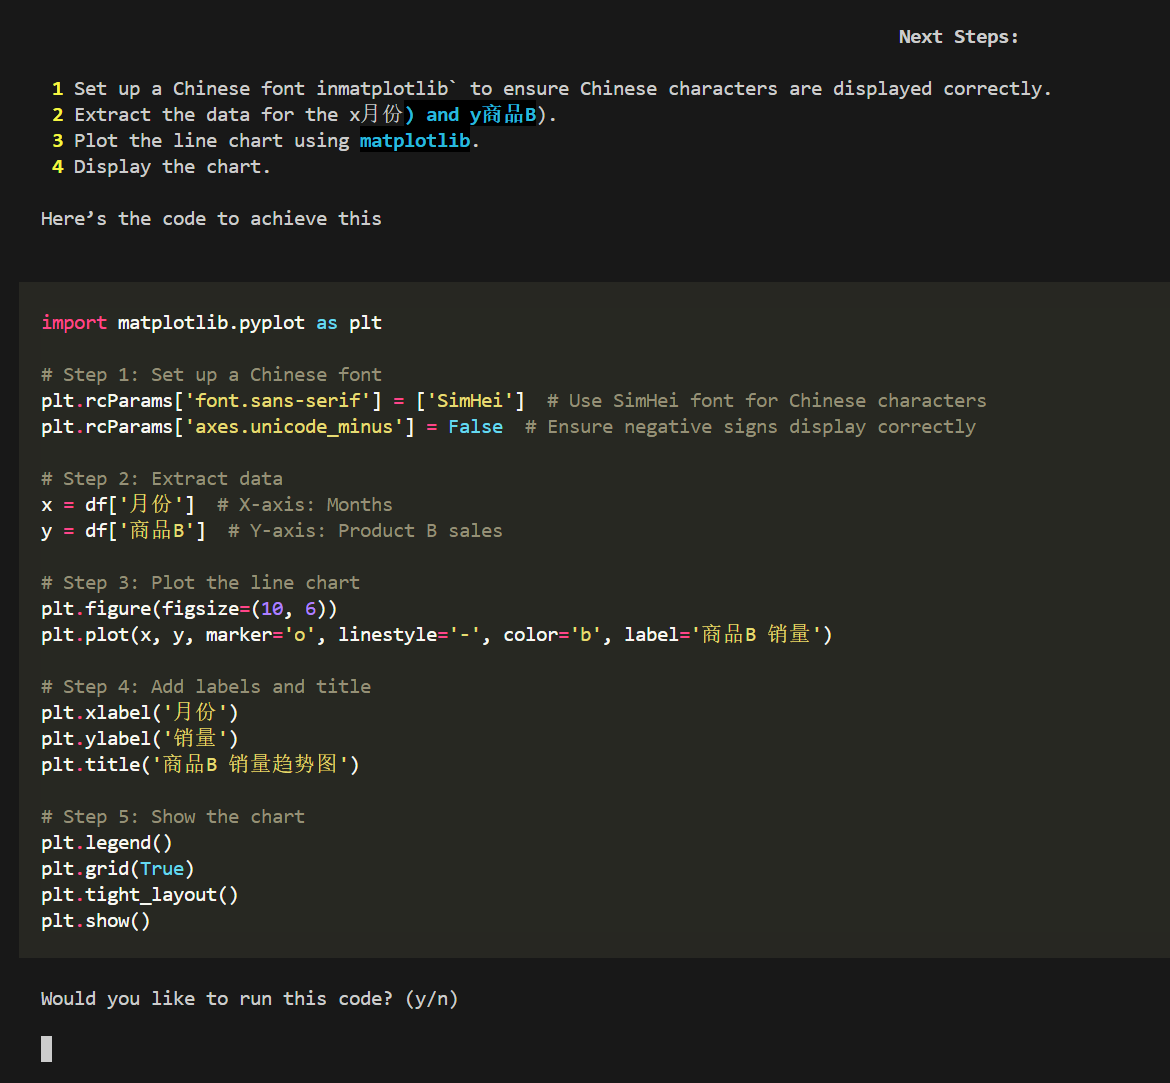
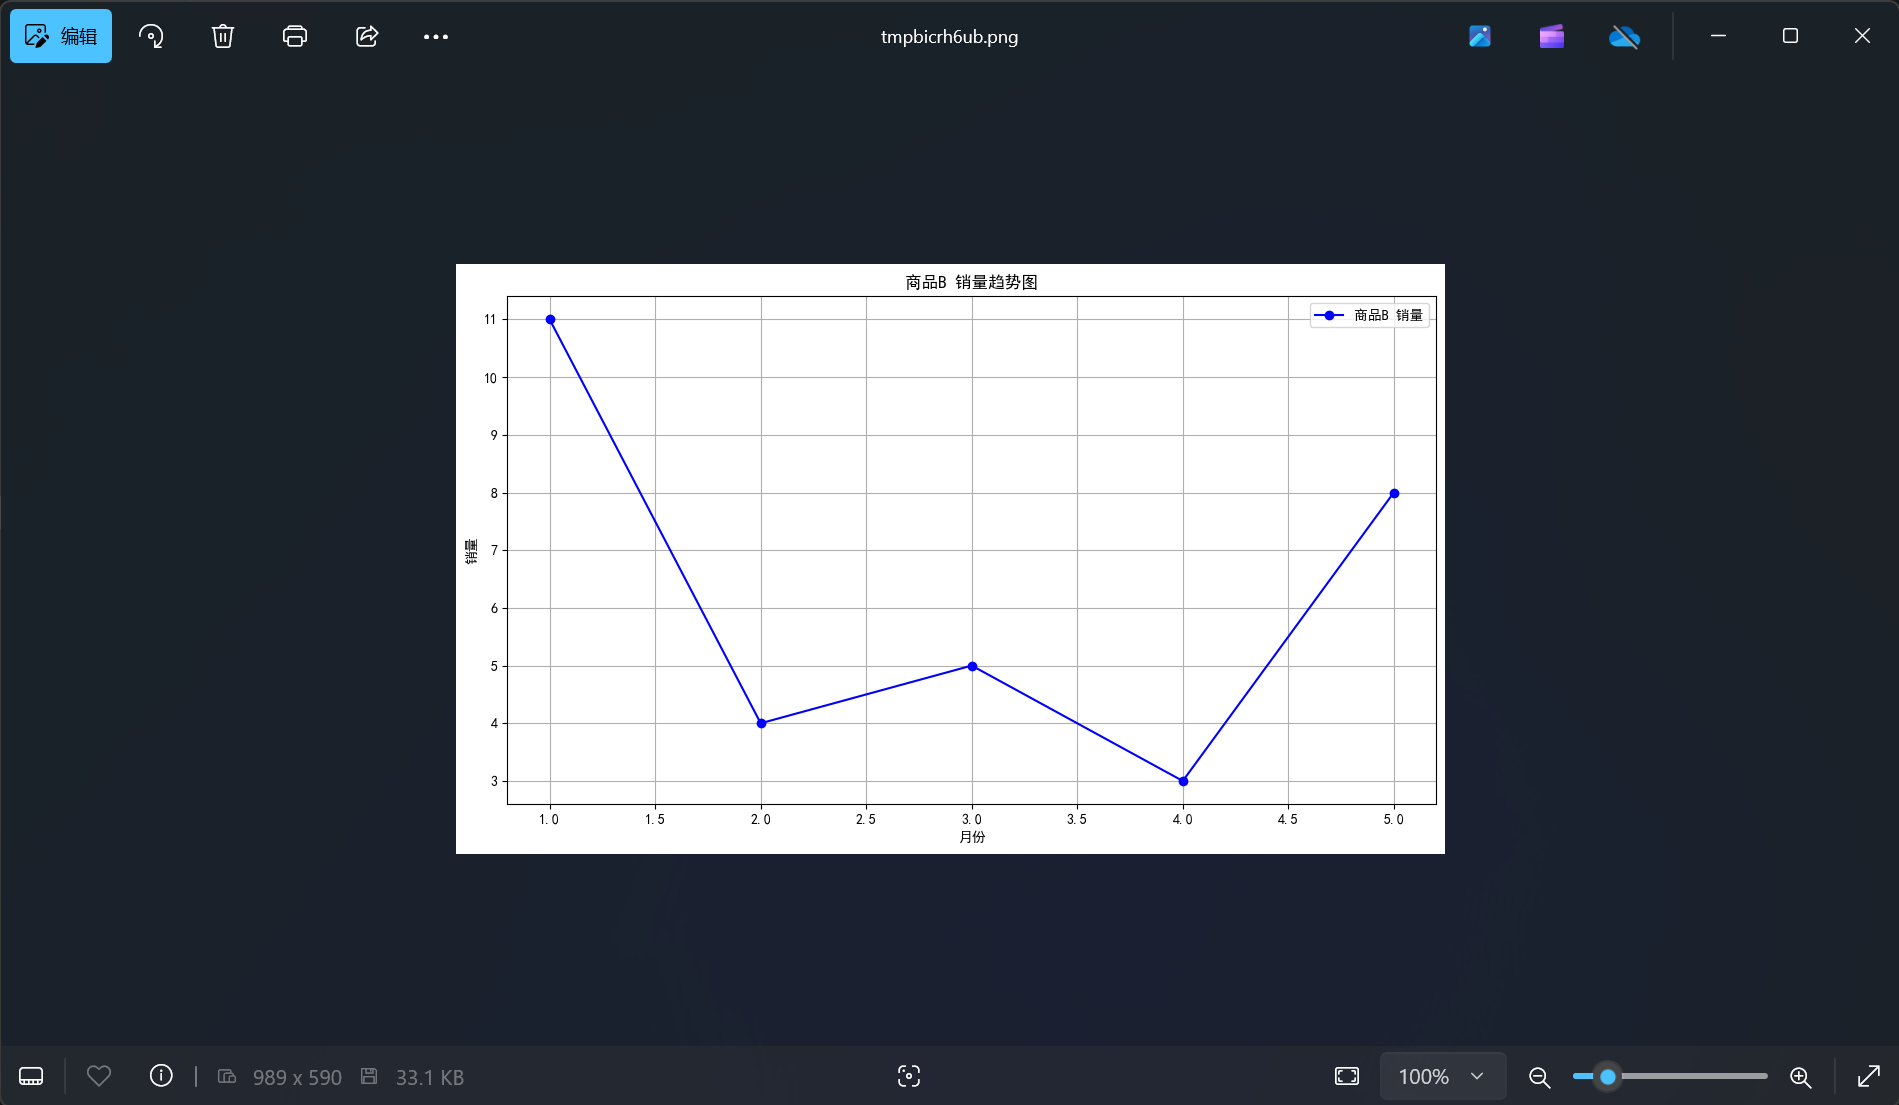
再试一下需要使用库的:
result = crew.kickoff(
    inputs={
        "question": "画一个折线图,横坐标为1月、2月、3月,纵坐标为12、15、17,将结果保存到test.png。"
    }
)
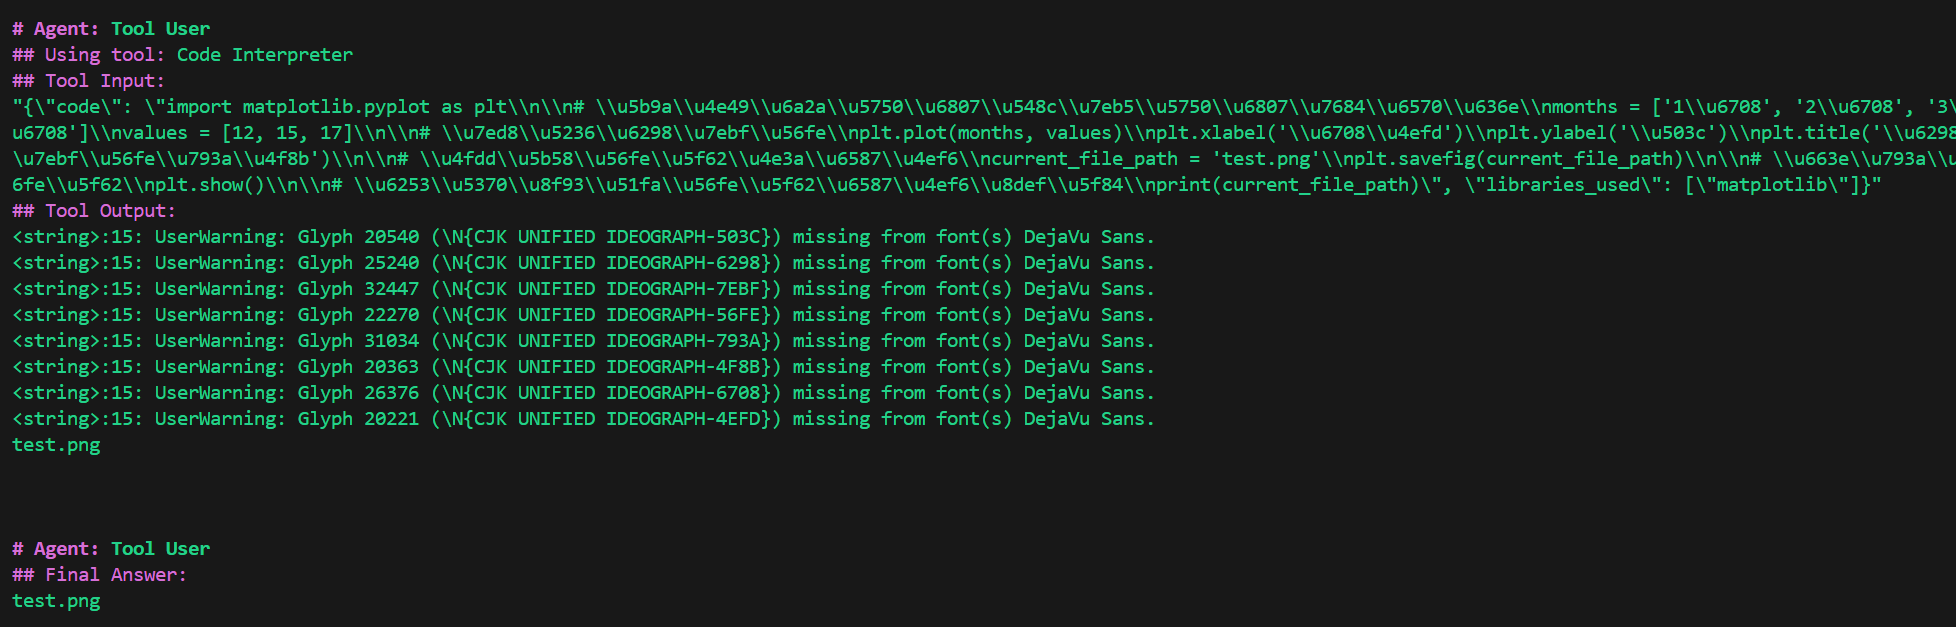
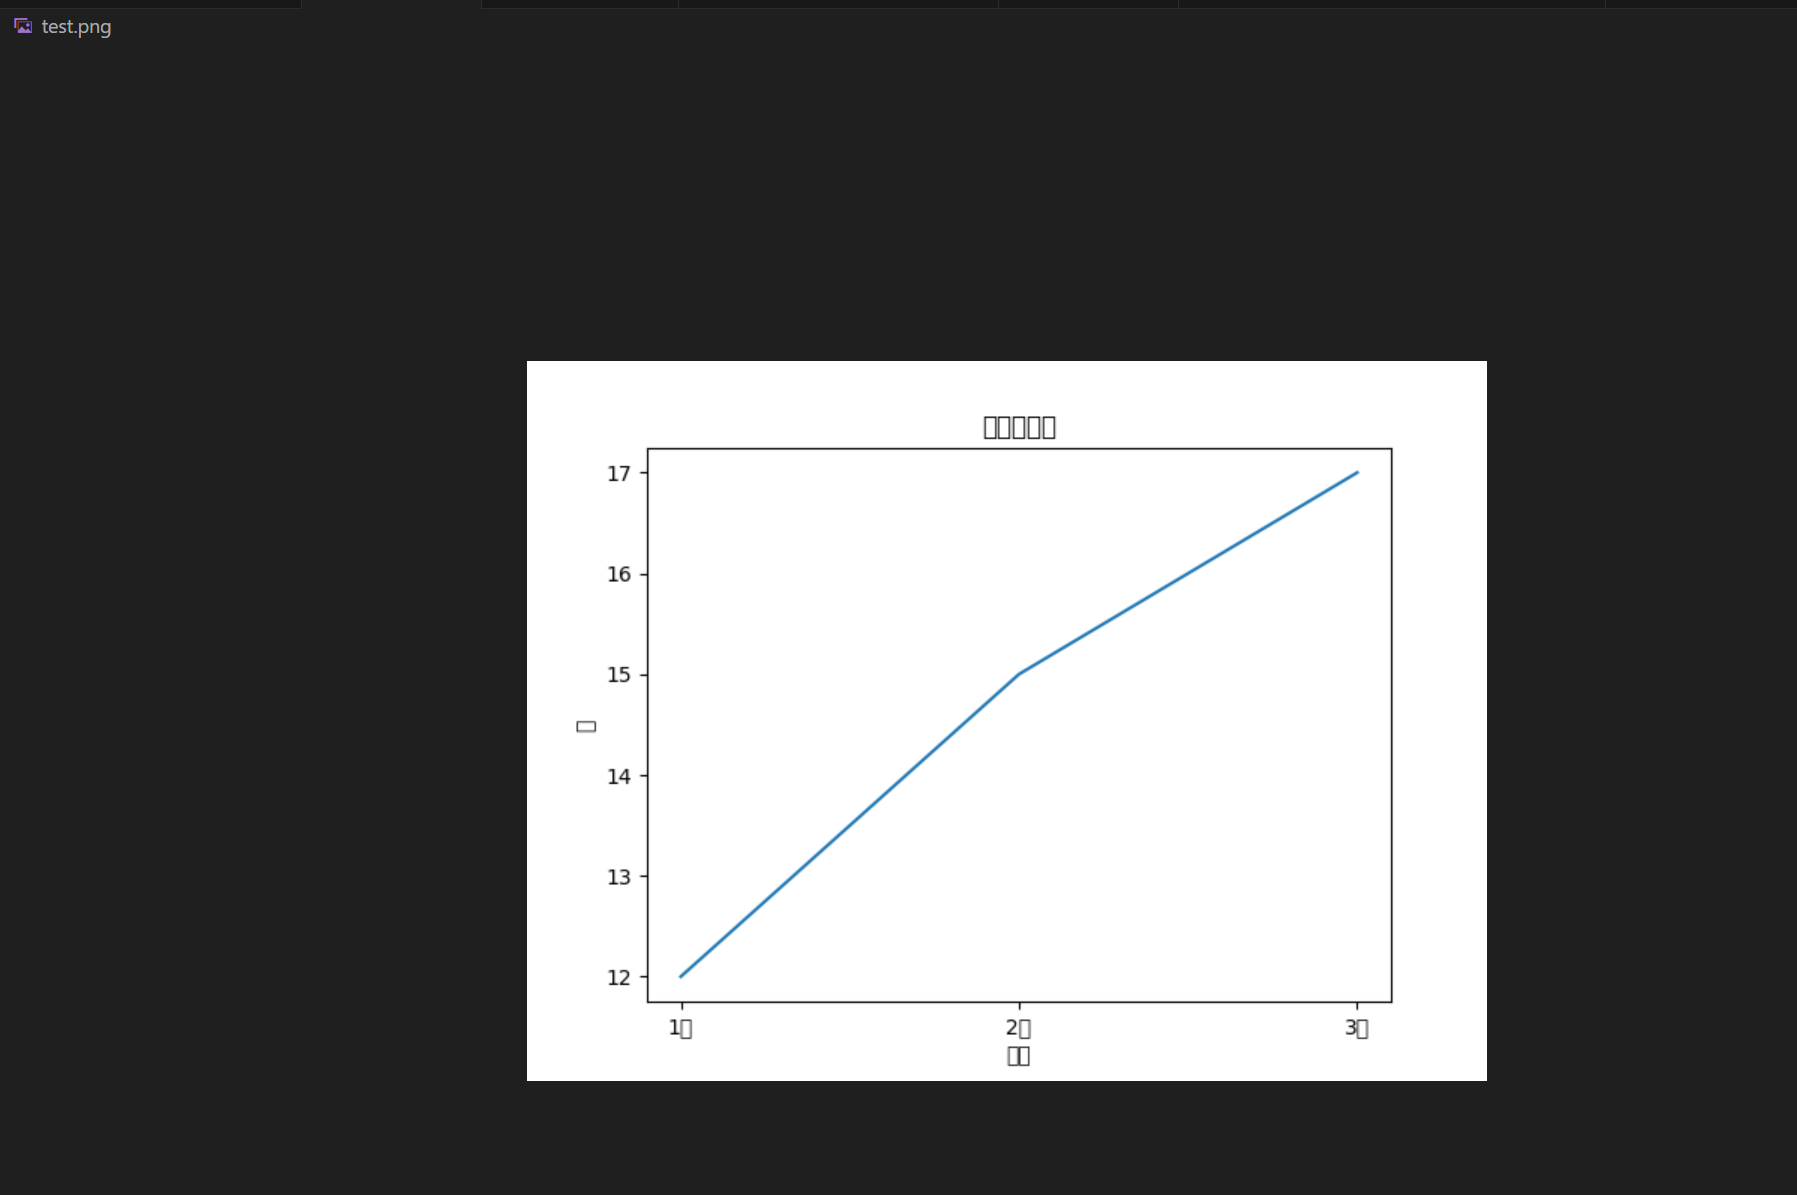
中文字体没有正常显示,修改需求:
画一个折线图,横坐标为1月、2月、3月,纵坐标为12、15、17,需要显示中文字体,将结果保存到test.png。
还是没有成功。
在docker环境中没有安装中文字体。

并且使用代码解释器的一个缺点就是你无法保证AI生成的代码就是能用的,稍微复杂一点的需求,就有可能生成无法运行的代码。
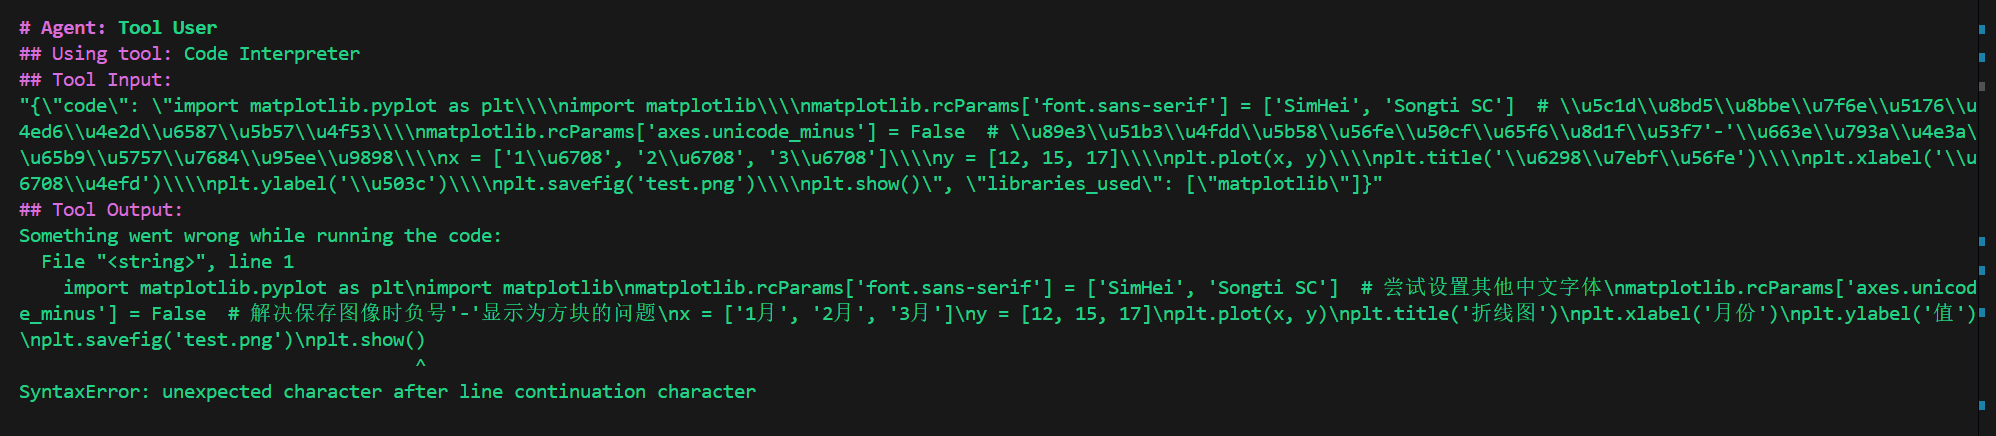
这样来看代码解释器的可玩性还是有很大的限制。
但是确实可以替代一些简单的工具了。