Selenium
来源: 用Python完成毫秒级抢单,助你秒杀淘宝大单 – 上海小胖 – 博客园
目录:
- 引言
- 环境
- 需求分析&前期准备
- 淘宝购物流程回顾
- 秒杀的实现
- 代码梳理
- 总结
0 引言
年中购物618大狂欢开始了,各大电商又开始了大力度的折扣促销,我们的小胖又给大家谋了一波福利,淘宝APP直接搜索:小胖发福利,每天领取三次粉丝专属现金大红包。
有了现金大红包,如何做到更省钱的剁手呢?今天给大家提供一种思路,用Python实现秒杀订单,借用自动化方式完成最优解。
1 环境
操作系统:Windows
Python版本:3.7.2
2 需求分析&前期准备
2.0 需求分析
我们的目标是秒杀淘宝的订单,这里面有几个关键点,首先需要登录淘宝,其次你需要准备好订单,最后要在指定时间快速提交订单。
登录淘宝,这里就要用到一个爬虫利器Selenium,它是一个自动化测试工具,利用它我们可以驱动浏览器执行特定的动作,如点击、下拉等等操作,所见即所得。另外对于一些 JavaScript 渲染的页面来说,此种抓取方式非常有效。
2.1 Selenium的安装
Selenium 的安装很简单,可采用如下方式。
pip install selenium
Selenium安装好之后,并不能直接使用,它需要与浏览器进行对接。这里拿Chrome浏览器为例。若想使用Selenium成功调用Chrome浏览器完成相应的操作,需要通过ChromeDriver来驱动。
2.2 ChromeDriver的安装
这里是ChromeDriver的官方下载地址。
链接:
https://chromedriver.storage.googleapis.com/index.html
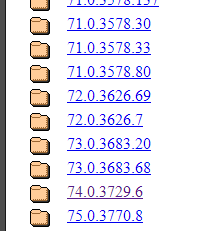
我们在下载之前先来确认下我们使用的Chrome浏览器版本。

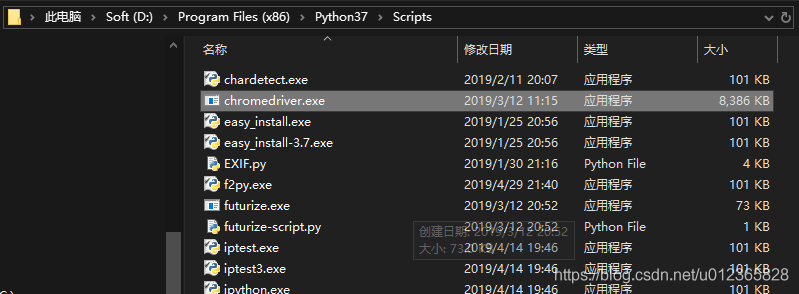
通过ChromeDriver的下载链接,找到与之对应的Chrome浏览器版本,根据你电脑系统的平台类型进行下载。
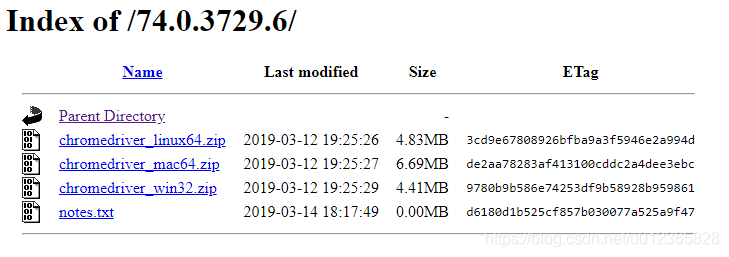
下载完成之后,解压,将其放置在Python安装路径下Scripts文件夹中即可
上述操作结束后,我们执行如下命令,测试一下
from selenium import webdriver
browser = webdriver.Chrome()
代码执行后,若成功打开了浏览器,则证明你的ChromeDriver安装的没问题,可以正常愉快地使用Selenium了。
接下来,我们先来回顾下淘宝购物流程。
3 淘宝购物流程回顾
3.1 首先要打开淘宝网站
https://www.taobao.com
换作使用Seleuinm方式,代码如下:
browser.get("https://www.taobao.com")
3.2 我们登录淘宝才能进行下一步操作

换成Seleuinm方式,代码:
browser.find_element_by_link_text("亲,请登录").click()
这时我们就要就跳到了一个扫码登录的页面,我们用手机进行扫码,登录成功之后进行下一步。
3.3 登录成功之后,我们来打开购物车,链接如下:
https://cart.taobao.com/cart.htm
换成Seleuinm方式,代码:
browser.get("https://cart.taobao.com/cart.htm")
3.4 我们想要全选购物车中的商品,直接点击全选即可
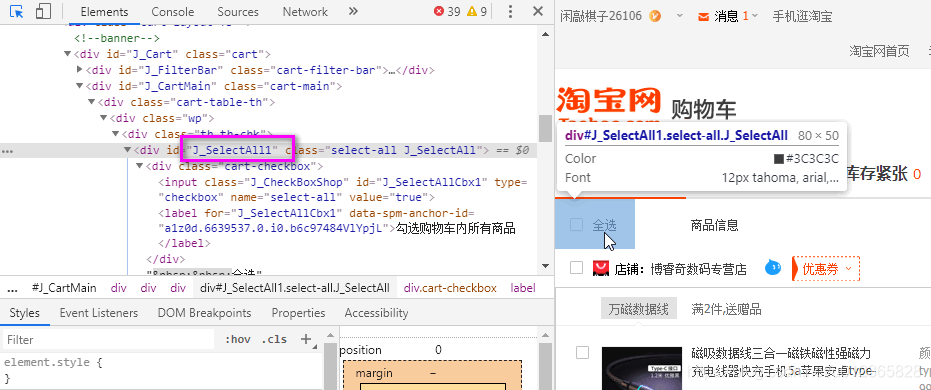
换成Seleuinm方式,代码:
browser.find_element_by_id("J_SelectAll1").click()
注:若你的购物车商品比较多,又不想全选购买,那就 手动 勾选想要下单的商品。
3.5 勾选好商品后就可以“结算”下单

换成Seleuinm方式,代码即:
browser.find_element_by_link_text("结 算").click()
3.6 等待提交完订单后才算数
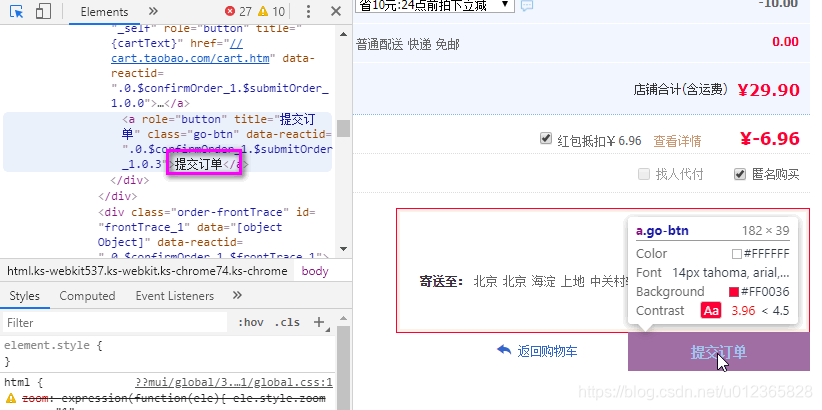
换成Seleuinm方式,代码即:
browser.find_element_by_link_text('提交订单').click()
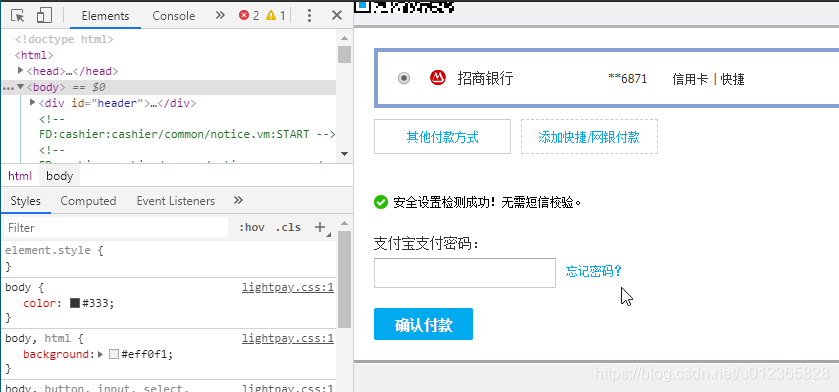
3.7 订单成功秒下之后,接下来的付款,慢慢来就好。
4 秒杀的实现
秒杀的实现,思路也很简单。这里有两个时间点,一是抢购时间,一是当前时间。只需要比较这两个时间点,到了抢购时间立即下单即可。
记录时间,需要使用datetime这个内置模块,代码如下:
import datetime
now = datetime.datetime.now().strftime('%Y-%m-%d %H:%M:%S.%f')
5 代码梳理
首先得登录淘宝,这里我们定义一个login函数
def login():
browser.get("https://www.taobao.com")
time.sleep(3)
if browser.find_element_by_link_text("亲,请登录"):
browser.find_element_by_link_text("亲,请登录").click()
print(f"请尽快扫码登录")
time.sleep(10)
接下来就是勾选购物车中的商品,这里我们定义一个picking函数
def picking(method):
browser.get("https://cart.taobao.com/cart.htm")
time.sleep(3)
if method == 0:
while True:
try:
if browser.find_element_by_id("J_SelectAll1"):
browser.find_element_by_id("J_SelectAll1").click()
break
except:
print(f"找不到购买按钮")
else:
print(f"请手动勾选需要购买的商品")
time.sleep(5)
等待抢购时间,定时秒杀,这里我们定义一个buy函数
def buy(times):
while True:
now = datetime.datetime.now().strftime('%Y-%m-%d %H:%M:%S.%f')
if now > times:
while True:
try:
if browser.find_element_by_link_text("结 算"):
browser.find_element_by_link_text("结 算").click()
print(f"结算成功,准备提交订单")
break
except:
pass
while True:
try:
if browser.find_element_by_link_text('提交订单'):
browser.find_element_by_link_text('提交订单').click()
print(f"抢购成功,请尽快付款")
except:
print(f"再次尝试提交订单")
time.sleep(0.01)
6 总结
短短几十行代码就能秒杀淘宝订单,赶紧行动起来吧!记着,每天在淘宝上搜索小胖发福利,领取粉专属福利哟~
关注公众号「Python专栏」,后台回复「抢单器」获取全套代码!


 用下面的语句查: