来源: C#加Vue MVC+Vue快速开发_c# vue_太阳的后裔的博客-CSDN博客
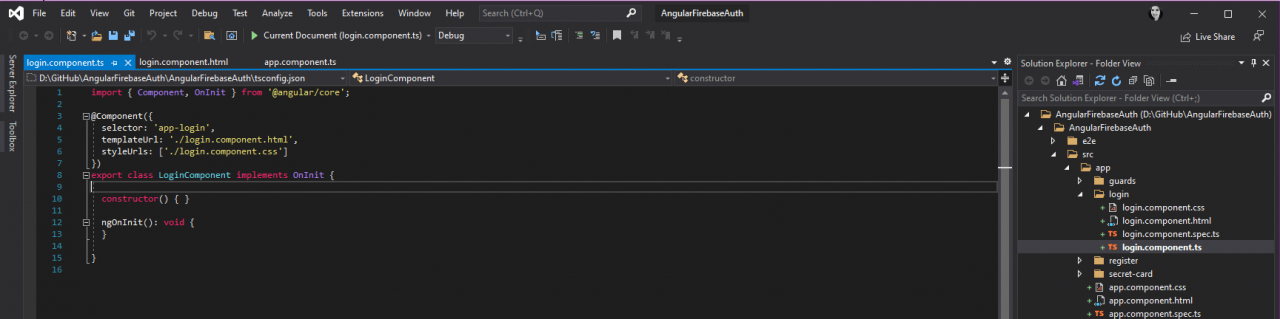
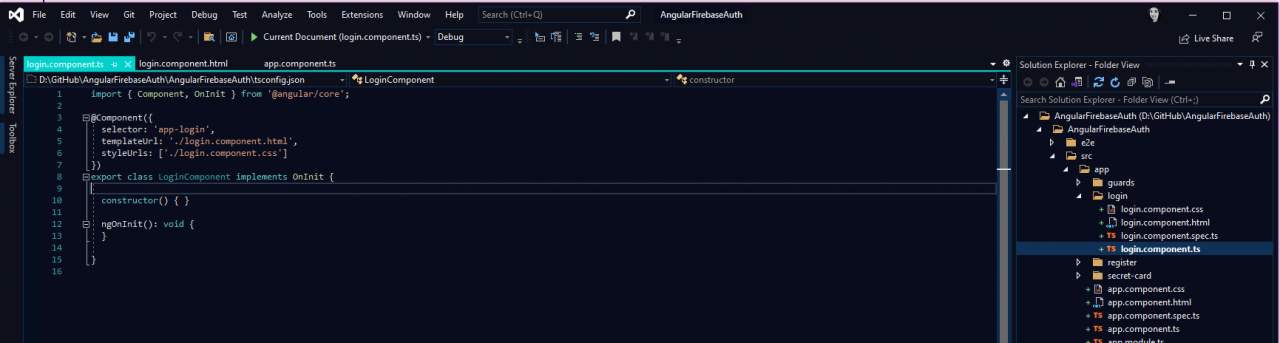
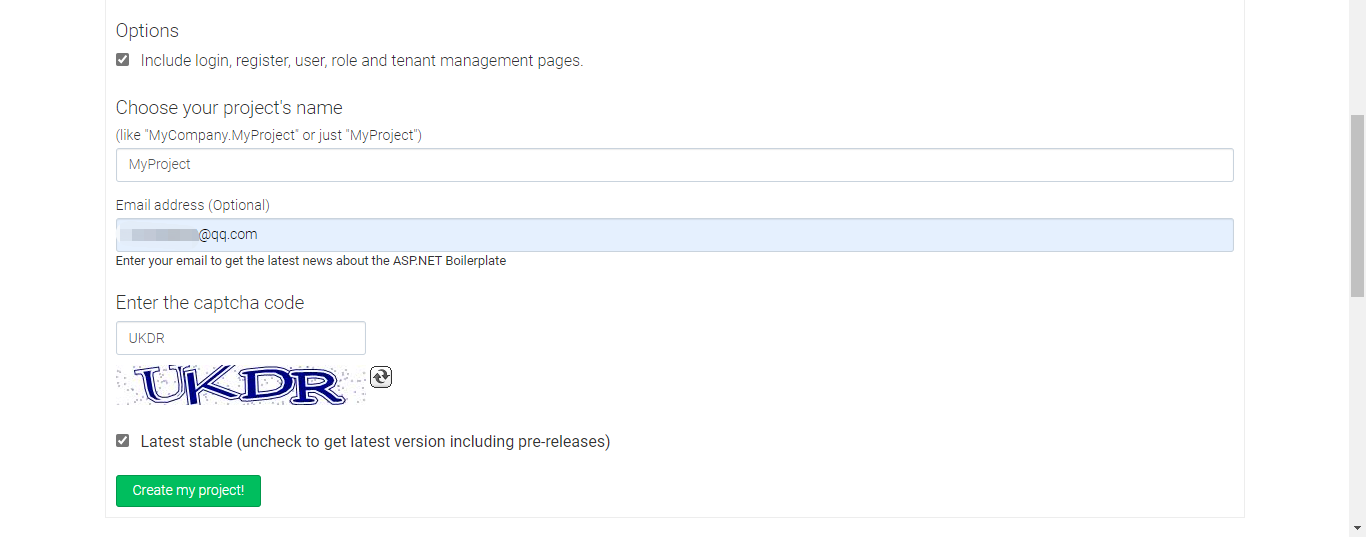
首先创建项目
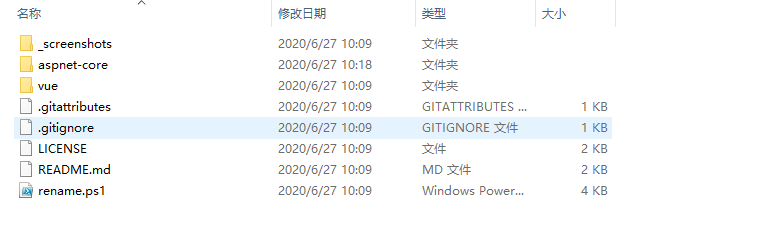
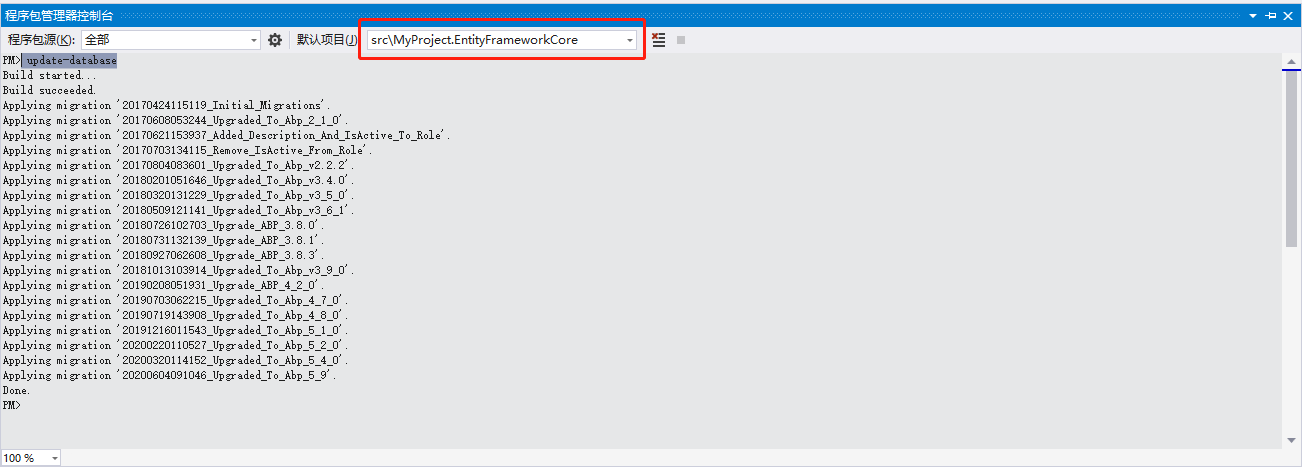
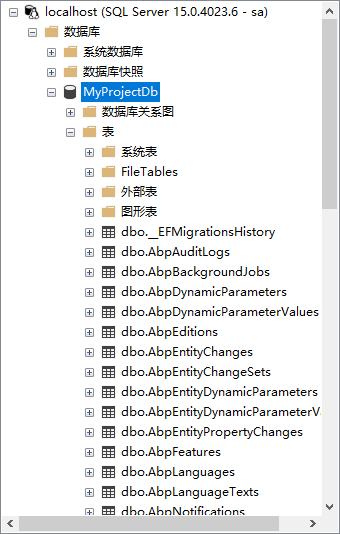
创建后大概的样子
1.配置Startup.cs
1.添加服务器端缓存
2.使用服务器端缓存
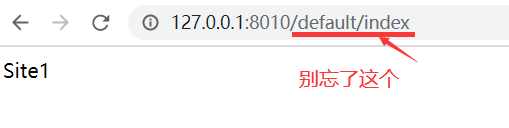
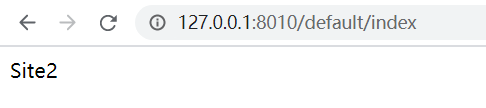
3.修改启动项为Home控制器下的Home视图
using Microsoft.AspNetCore.Builder;
using Microsoft.AspNetCore.Hosting;
using Microsoft.AspNetCore.HttpsPolicy;
using Microsoft.Extensions.Configuration;
using Microsoft.Extensions.DependencyInjection;
using Microsoft.Extensions.Hosting;
using System;
using System.Collections.Generic;
using System.Linq;
using System.Threading.Tasks;
namespace Supply_System
{
public class Startup
{
public Startup(IConfiguration configuration)
{
Configuration = configuration;
}
public IConfiguration Configuration { get; }
// This method gets called by the runtime. Use this method to add services to the container.
public void ConfigureServices(IServiceCollection services)
{
services.AddResponseCaching();//1.添加服务器端缓存
services.AddControllersWithViews();
}
// This method gets called by the runtime. Use this method to configure the HTTP request pipeline.
public void Configure(IApplicationBuilder app, IWebHostEnvironment env)
{
if (env.IsDevelopment())
{
app.UseDeveloperExceptionPage();
}
else
{
app.UseExceptionHandler(“/Home/Error”);
// The default HSTS value is 30 days. You may want to change this for production scenarios, see https://aka.ms/aspnetcore-hsts.
app.UseHsts();
}
app.UseHttpsRedirection();
app.UseStaticFiles();
app.UseRouting();
app.UseAuthorization();
app.UseResponseCaching();//2.使用服务器端缓存
app.UseEndpoints(endpoints =>
{
endpoints.MapControllerRoute(
name: “default”,
pattern: “{controller=Home}/{action=Home}/{id?}”);//3.修改启动项为Home控制器下的Home视图
});
}
}
}
2.在Models文件夹下添加两个实体类
1.SupplyDemandsViewModel
2.TypeViewModel
using System;
using System.Collections.Generic;
using System.Linq;
using System.Threading.Tasks;
namespace Supply_System.Models
{
public class SupplyDemandsViewModel
{
public int Id { get; set; }
public string SupplyDemandTitle { get; set; }
public string SupplyDemandDetail { get; set; }
public string CreateTime { get; set; }
public int CreateUserId { get; set; }
public int TypeId { get; set; }
public string TypeName { get; set; }
public bool IsRecommend { get; set; }
public bool IsDel { get; set; }
public static List<SupplyDemandsViewModel> ListAll()
{
List<SupplyDemandsViewModel> supplyDemands = new List<SupplyDemandsViewModel>();
for (int i = 0; i < 8; i++)
{
bool IsRecommend = false;
if (i > 4)
{
IsRecommend = true;
}
supplyDemands.Add(new SupplyDemandsViewModel
{
Id = 1,
SupplyDemandTitle = “v-if”,
SupplyDemandDetail = “”,
CreateTime = DateTime.Now.ToString(“yyyy-MM-dd HH:mm:ss”),
CreateUserId = 1,
TypeId = 1,
TypeName = “Vue控件”,
IsRecommend = IsRecommend,
IsDel = false
});
}
for (int i = 0; i < 8; i++)
{
bool IsRecommend = false;
if (i > 4)
{
IsRecommend = true;
}
supplyDemands.Add(new SupplyDemandsViewModel
{
Id = 1,
SupplyDemandTitle = “vm”,
SupplyDemandDetail = “”,
CreateTime = DateTime.Now.ToString(“yyyy-MM-dd HH:mm:ss”),
CreateUserId = 1,
TypeId = 2,
TypeName = “Vue语法”,
IsRecommend = IsRecommend,
IsDel = false
});
}
for (int i = 0; i < 8; i++)
{
bool IsRecommend = false;
if (i > 4)
{
IsRecommend = true;
}
supplyDemands.Add(new SupplyDemandsViewModel
{
Id = 1,
SupplyDemandTitle = “商城”,
SupplyDemandDetail = “”,
CreateTime = DateTime.Now.ToString(“yyyy-MM-dd HH:mm:ss”),
CreateUserId = 1,
TypeId = 3,
TypeName = “Vue实战”,
IsRecommend = IsRecommend,
IsDel = false
});
}
return supplyDemands;
}
}
}
using System;
using System.Collections.Generic;
using System.Linq;
using System.Threading.Tasks;
namespace Supply_System.Models
{
public class TypeViewModel
{
public int Id { get; set; }
public string TypeName { get; set; }
public string Url { get; set; }
public static List<TypeViewModel> ListAll()
{
List<TypeViewModel> navViewNodels = new List<TypeViewModel>();
navViewNodels.Add(new TypeViewModel
{
Id = 1,
TypeName = “Vue控件”,
Url = “”
});
navViewNodels.Add(new TypeViewModel
{
Id = 2,
TypeName = “Vue语法”,
Url = “”
});
navViewNodels.Add(new TypeViewModel
{
Id = 3,
TypeName = “Vue实战”,
Url = “”
});
return navViewNodels;
}
}
}
3.修改HomeController控制器
1.添加浏览器端缓存
2.加载栏目数据
3.加载栏目对应的内容数据
using Microsoft.AspNetCore.Mvc;
using Microsoft.Extensions.Logging;
using Supply_System.Models;
using System;
using System.Collections.Generic;
using System.Diagnostics;
using System.Linq;
using System.Threading.Tasks;
namespace Supply_System.Controllers
{
public class HomeController : Controller
{
private readonly ILogger<HomeController> _logger;
public HomeController(ILogger<HomeController> logger)
{
_logger = logger;
}
public IActionResult Index()
{
return View();
}
[ResponseCache(Duration = 600)]/*1.浏览器端缓存*/
public IActionResult Home()
{
return View();
}
[ResponseCache(Duration = 600)]
public IActionResult GetNavs()/*2.加载栏目数据*/
{
return new JsonResult(TypeViewModel.ListAll());
}
[ResponseCache(Duration = 600)]
public IActionResult GetSuppys ()/*3.加载栏目对应的内容数据*/
{
return new JsonResult(SupplyDemandsViewModel.ListAll());
}
public IActionResult Privacy()
{
return View();
}
[ResponseCache(Duration = 0, Location = ResponseCacheLocation.None, NoStore = true)]
public IActionResult Error()
{
return View(new ErrorViewModel { RequestId = Activity.Current?.Id ?? HttpContext.TraceIdentifier });
}
}
}
4.修改_Layout.cshtml视图
<!DOCTYPE html>
<html lang=”en”>
<head>
<meta charset=”utf-8″ />
<meta name=”viewport” content=”width=device-width, initial-scale=1.0″ />
<title>@ViewData[“Title”] – Supply_System</title>
<link rel=”stylesheet” href=”~/lib/bootstrap/dist/css/bootstrap.min.css” />
<link rel=”stylesheet” href=”~/css/site.css” />
<script src=”~/lib/Vue/vue.min.js”></script>
</head>
<body>
<header>
<nav class=”navbar navbar-expand-sm navbar-toggleable-sm navbar-light bg-white border-bottom box-shadow mb-3″>
<div id=”navs” class=”container”>
<a class=”navbar-brand” asp-area=”” asp-controller=”Home” asp-action=”Home”>主页</a>
<button class=”navbar-toggler” type=”button” data-toggle=”collapse” data-target=”.navbar-collapse” aria-controls=”navbarSupportedContent”
aria-expanded=”false” aria-label=”Toggle navigation”>
<span class=”navbar-toggler-icon”></span>
</button>
<div class=”navbar-collapse collapse d-sm-inline-flex flex-sm-row-reverse”>
<ul class=”navbar-nav flex-grow-1″>
<li class=”nav-item” v-for=”nav in navs”>
<a class=”nav-link text-dark” asp-area=”” asp-controller=”Home” asp-action=”Index”>{{nav.typeName}}</a>
</li>
@*<li class=”nav-item”>
<a class=”nav-link text-dark” asp-area=”” asp-controller=”Home” asp-action=”Index”>Vue控件</a>
</li>
<li class=”nav-item”>
<a class=”nav-link text-dark” asp-area=”” asp-controller=”Home” asp-action=”Privacy”>Vue语法</a>
</li>
<li class=”nav-item”>
<a class=”nav-link text-dark” asp-area=”” asp-controller=”Home” asp-action=”Privacy”>Vue实战</a>
</li>*@
</ul>
</div>
</div>
</nav>
</header>
<div class=”container”>
<main role=”main” class=”pb-3″>
@RenderBody()
</main>
</div>
<footer class=”border-top footer text-muted”>
<div class=”container”>
© 2021 – Supply_System – <a asp-area=”” asp-controller=”Home” asp-action=”Privacy”>Privacy</a>
</div>
</footer>
<script src=”~/lib/JQuery/dist/JQuery.min.js”></script>
<script src=”~/lib/bootstrap/dist/js/bootstrap.bundle.min.js”></script>
<script src=”~/js/site.js” asp-append-version=”true”></script>
@RenderSection(“Scripts”, required: false)
</body>
</html>
<script>
var vm = new Vue({
el: “#navs”,
data: {
navs:[]
},
mounted() {
this.getNavs();
},
methods: {
getNavs() {
var that = this;
$.get(“/Home/GetNavs”, {}, function (res) {
that.navs = res;
console.log(res)
})
}
}
});
</script>
5.修改Home.cshtml视图
@{
ViewData[“Title”] = “Home Page”;
}
<script src=”~/lib/Vue/vue.min.js”></script>
<style>
ul {
list-style: none;
margin: 10px;
float: left;
}
ul li {
font-size: 18px;
}
/* ul li {
float: left;
}*/
</style>
<div id=”HomePage”>
<div style=”margin-left:50px;”>
<p>请输入关键字</p>
<input type=”text” v-model=”searchText” placeholder=”请输入需要搜索的关键字” />
@*<button @@click=”search()”>搜索</button>*@@*click前面添加两个@@符号是因为C#定义一个@会转换为后端语言*@
<button v-on:click=”search()”>搜索</button>
</div>
<div v-show=”showSearch==false”>
<ul>
<li><h3>推荐信息</h3></li>
<li v-for=”supply in getSupplyByRecommend”>{{supply.supplyDemandTitle}}</li>
</ul>
</div>
<div v-show=”showSearch==false” v-for=”type in types”>
<ul>
<li><h3>{{type.typeName}}</h3></li>
@*字段首字母要小写*@
<li v-for=”supply in getSupplysByTypeId(type.id)”>{{supply.supplyDemandTitle}}</li>
</ul>
</div>
<div v-show=”showSearch==true”>
<p style=”margin-left:50px;”>搜索内容</p><button v-on:click=”backAll()”>返回</button>
<ul v-if=”searchRes.length > 0″>
<li v-for=”supply in searchRes”>
{{supply.supplyDemandTitle}}
</li>
</ul>
<div v-else>
您搜索的内容尚不存在
</div>
</div>
@*<div>
<ul>
<li>Vue控件</li>
<li>v-if</li>
<li>v-show</li>
<li>v-text</li>
<li>v-model</li>
<li>v-for</li>
<li>v-bind</li>
</ul>
</div>
<div>
<ul>
<li>Vue语法</li>
<li>vm</li>
<li>data</li>
<li>methods</li>
</ul>
</div>
<div>
<ul>
<li>Vue实战</li>
<li>商城</li>
<li>官网</li>
<li>后台管理</li>
</ul>
</div>*@
</div>
<script src=”~/lib/jQuery/dist/jQuery.min.js”></script>
<script>
var vmHome = new Vue({
el: “#HomePage”,
data: {//定义变量
types: [],
supplys: [],
searchText: null,
searchRes: [],
showSearch: false
},
mounted() {
this.getNavs();
this.getSupplys();
},
methods: {
getNavs() {
var that = this;
$.get(“/Home/GetNavs”, {}, function (res) {
that.types = res;
console.log(res)
})
},
getSupplys() {
var that = this;
$.get(“/Home/GetSuppys”, {}, function (res) {
that.supplys = res;
console.log(res)
})
}
//,
//getSupplysByTypeId(typeId) {
// return this.supplys.filter(m => m.typeId == typeId);
//}
, search() {
console.log(this.searchText);
if (this.searchText == null) {
alert(“您尚未输入内容!”);
} else {
this.searchRes = this.supplys.filter(m => m.supplyDemandTitle.includes(this.searchText));
this.showSearch = true;
}
},
backAll() {
this.showSearch = false;
this.searchText = null;
}
},
computed: {/*computed下定义的是属性,不能直接定义方法,但是可以在其属性下定义方法*/
getSupplyByRecommend(){
return this.supplys.filter(m=>m.isRecommend==true);
},
getSupplysByTypeId() {
//无法像methods中那样直接定义方法,该处的getSupplysByTypeId()是一个属性,所以也不能传参,但是可以在该属性下定义一个方法
return function (typeId) {
return this.supplys.filter(m => m.typeId == typeId);
}
}
}
})
</script>
————————————————
版权声明:本文为CSDN博主「太阳的后裔」的原创文章,遵循CC 4.0 BY-SA版权协议,转载请附上原文出处链接及本声明。
原文链接:https://blog.csdn.net/weixin_43942765/article/details/121938973