
[转载]asp.net MVC 权限设计 – jqpeng的技术记事本 – 博客园.
几点说明:
1、该权限系统是个网站用的,用户简单,因此不涉及到部门这些信息
2、基于将角色与controller、action相关联来判断用户是否有权
3、通过重载AuthorizeAttribute实现
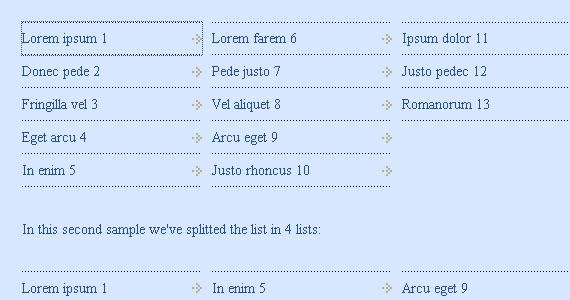
数据库设计:

表说明
ControllerAction
- Name是controller的名称
- IsController是指是否是controller,如果为false,表示存的是action,那么controllerName字段就派上用场了
- IsAllowedNoneRoles是指是否允许没有权限的人访问
- IsAllowedAllRoles是指是否允许有角色的人访问
IsAllowedNoneRoles,IsAllowedAllRoles实现了允许所有人访问以及允许所有注册用户访问:),并且我们约定,IsAllowedNoneRoles具有最高的优先级,其次是IsAllowedAllRoles,然后才是ControllerActionRole中定义的规则
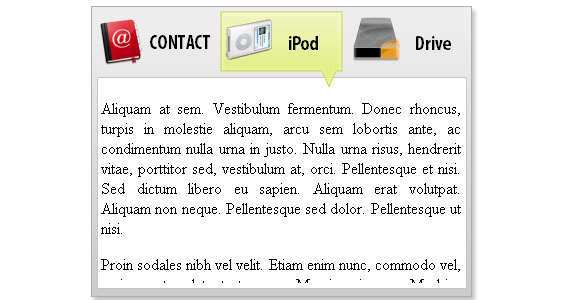
ControllerActionRole
IsAllowed表示该action或者controller是否允许访问,加入表中有两条记录
角色 Name ControllName IsAllowed IsController A Admin Home false false A Home Null true true 这里约定分两个层次来判断权限:
第一条记录:表示A角色不能访问 Home/admin
第二条记录:表示A角色可以访问Controller下的所有方法
到底能不能访问呢?其实,我们以action为准,如果定义了action,我们直接从action的约定来判断,因此这里判断A不能访问Home/admin
其他几张表一看就明白,不再多说
判断是否有权限的设定
1、获取controller,action,以及存放在session中的用户信息
 1 public class UserAuthorizeAttribute : AuthorizeAttribute
 2     {
 3
 4      public override void OnAuthorization(AuthorizationContext filterContext)
 5       {
 6           var user = filterContext.HttpContext.Session["CurrentUser"] as User;
 7           var controller = filterContext.RouteData.Values["controller"].ToString();
 8           var action = filterContext.RouteData.Values["action"].ToString();
 9           var isAllowed = this.IsAllowed(user, controller, action);
10
11           if (!isAllowed)
12           {
13               filterContext.RequestContext.HttpContext.Response.Write("无权访问");
14               filterContext.RequestContext.HttpContext.Response.End();
15           }
16
17       }
18
19     ……
20
21 }
22
2、检索数据库ControllerAction表中有没有Name为第一步中controller 的记录,如果没有,我们约定这个controller是不需要进行权限控制的,如果有的话,进入第三步
3、前面提到了,我们约定对权限的控制分为两个层次,controller和action层次,如果同时定义了,以action为准。因此,我们需要判断是否在数据库中有action的记录,如果有,进入4,无,进入5
 1 bool IsAllowed(User user, string controllerName, string actionName)
 2 {
 3     var service = ServiceLoader.LoadService<ToySpirit.IToySpiritService.IControllerActionService>();
 4
 5     // 获取对应的controller
 6      var controller = service.GetSingleByExpression(c => c.Name == controllerName && c.IsController);
 7     if (controller != null)
 8     {
 9         // 获取对应的action
10          var controllerAction = service.GetSingleByFunc(c => c.Name == actionName && c.IsController == false && c.ControllerName == controllerName);
11
12         return controllerAction == null ? this.isAllowed(user, controller) : this.isAllowed(user, controllerAction);
13     }
14
15     // 没有定义controller的权限,表示无需权限控制
16      return true;
17 }
18
19
4、如果有action的记录,那么我们首先判断controllerAction 拒绝哪些角色访问,如果用户有角色在这里面,很遗憾,就不能访问了;然后判断controllerAction 允许哪些角色访问,如果用户的角色在这里面,就可以访问了
注:这里很有可能用户有多个角色,比如A,B,C,如果A不能访问controllerAction,那么很遗憾,用户不能访问,尽管角色B,C可能可以访问该controllerAction
5、没有action的记录,自然就检查controller对应的controllerAction 了
 代码
代码

4、5判断的代码是一样的,如下:

      private bool isAllowed(User user, ControllerAction controllerAction)
        {
            // 允许没有角色的:也就是说允许所有人,包括没有登录的用户
            if (controllerAction.IsAllowedNoneRoles)
            {
                return true;
            }

            // 允许所有角色:只要有角色,就可以访问
            if (controllerAction.IsAllowedAllRoles)
            {
                return user.Roles.Count > 0;
            }

            if (user == null || user.Roles.Count == 0)
            {
                return false;
            }

            // 选出action对应的角色
            var roles = controllerAction.ControllerActionRoles.Select(ca => ca.Role).ToList();
            if (roles.Count == 0)
            {
                // 角色数量为0,也就是说没有定义访问规则,默认允许访问
                return true;
            }

            var userHavedRolesids = user.Roles.Select(r => r.ID).ToList();

            // 查找禁止的角色
            var notAllowedRoles = controllerAction.ControllerActionRoles.FindAll(r => r.IsAllowed == false).Select(ca => ca.Role).ToList();
            if (notAllowedRoles.Count > 0)
            {
                foreach (Role role in notAllowedRoles)
                {
                    // 用户的角色在禁止访问列表中,不允许访问
                    if (userHavedRolesids.Contains(role.ID))
                    {
                        return false;
                    }
                }
            }

            // 查找允许访问的角色列表
            var allowRoles = controllerAction.ControllerActionRoles.FindAll(r => r.IsAllowed).Select(ca => ca.Role).ToList();
            if (allowRoles.Count > 0)
            {
                foreach (Role role in allowRoles)
                {
                    // 用户的角色在访问的角色列表
                    if (userHavedRolesids.Contains(role.ID))
                    {
                        return true;
                    }
                }
            }

            return false;
        }
使用方法:
建立一个basecontroller,使用我们定义好的UserAuthorize,然后所有的controller继承basecontroller就可以了
1    /// <summary>
2    /// 控制基类
3    /// </summary>
4     [UserAuthorize]
5    public abstract class BaseController : Controller
6    {}
7
8    public class HomeController : BaseController{}
9
演示:
在controlleraction中添加几条数据:

根据我们的规则,我们可以知道,未登录的用户可以访问Home/Public,其他几个页面则不能访问
我们看对应的Action:
 1       public void ViewPage()
 2        {
 3            Response.Write("View");
 4        }
 5        public void Public()
 6        {
 7            Response.Write("Public");
 8        }
 9        public void Delete()
10        {
11            Response.Write("Delete");
12        }
访问Home/Public,如果有权限,那么显示“Public“,否则显示”无权访问”
未登录用户访问Home/Public,结果符合我们的约定;-)

未登录用户访问Home/ViewPage,按约定应该显示错误信息


![clip_image002[5]](http://images.cnblogs.com/cnblogs_com/P_Chou/201101/201101232321369828.jpg "clip_image002[5]")


 jRating 是一个ajax评分插件,得益于插件的众多options和方法,它非常简单易用 !比如,你可以设置五角星的数量或者最大的得分等。


